
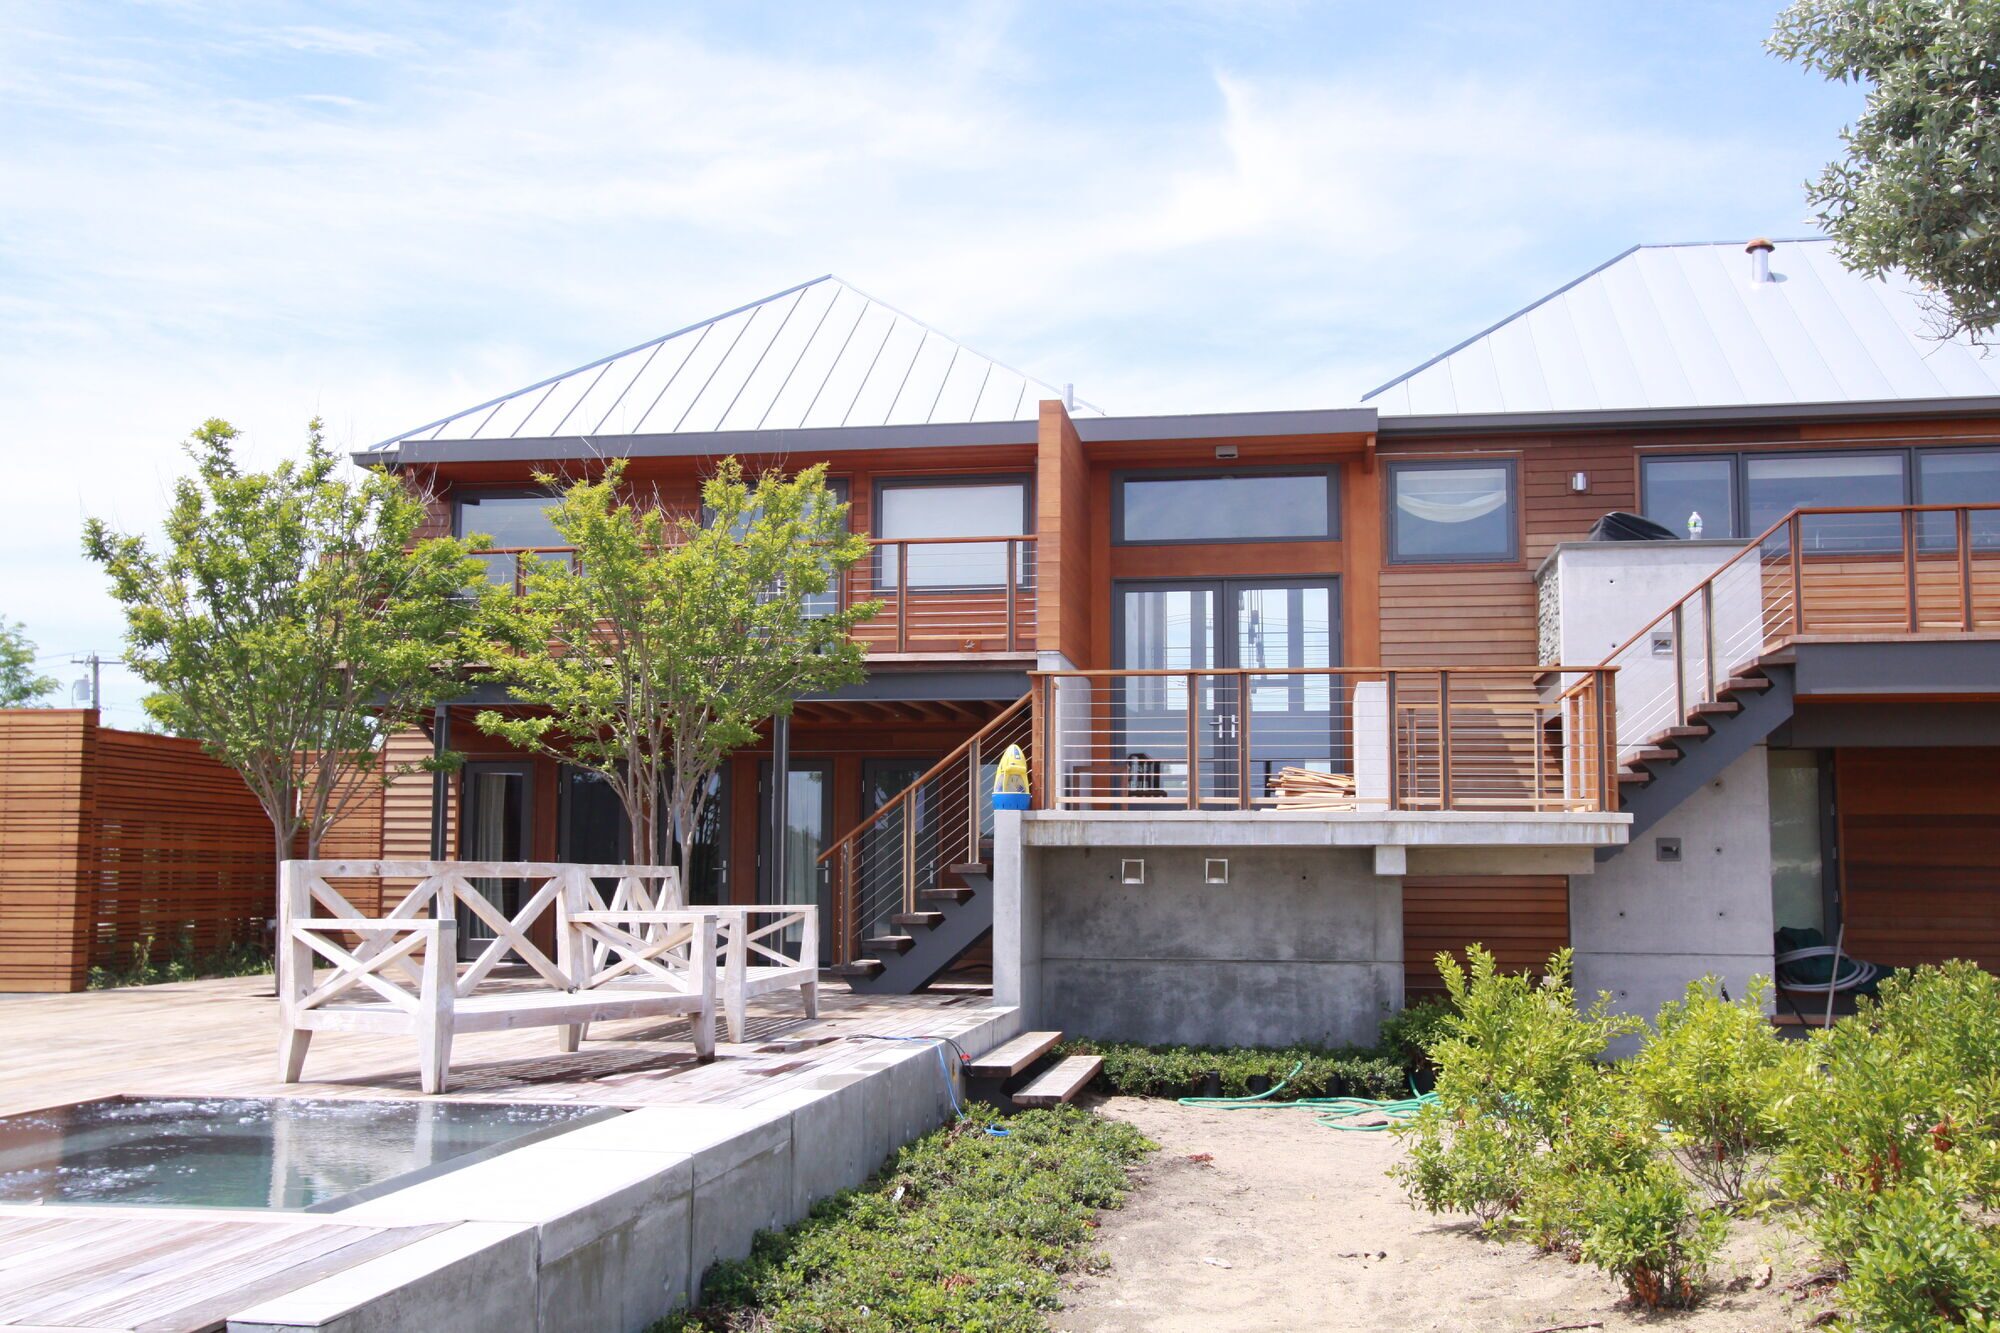
Most concrete is meant to disappear behind siding, stone or soil. At the Cranberry Hole House, it is the finish.
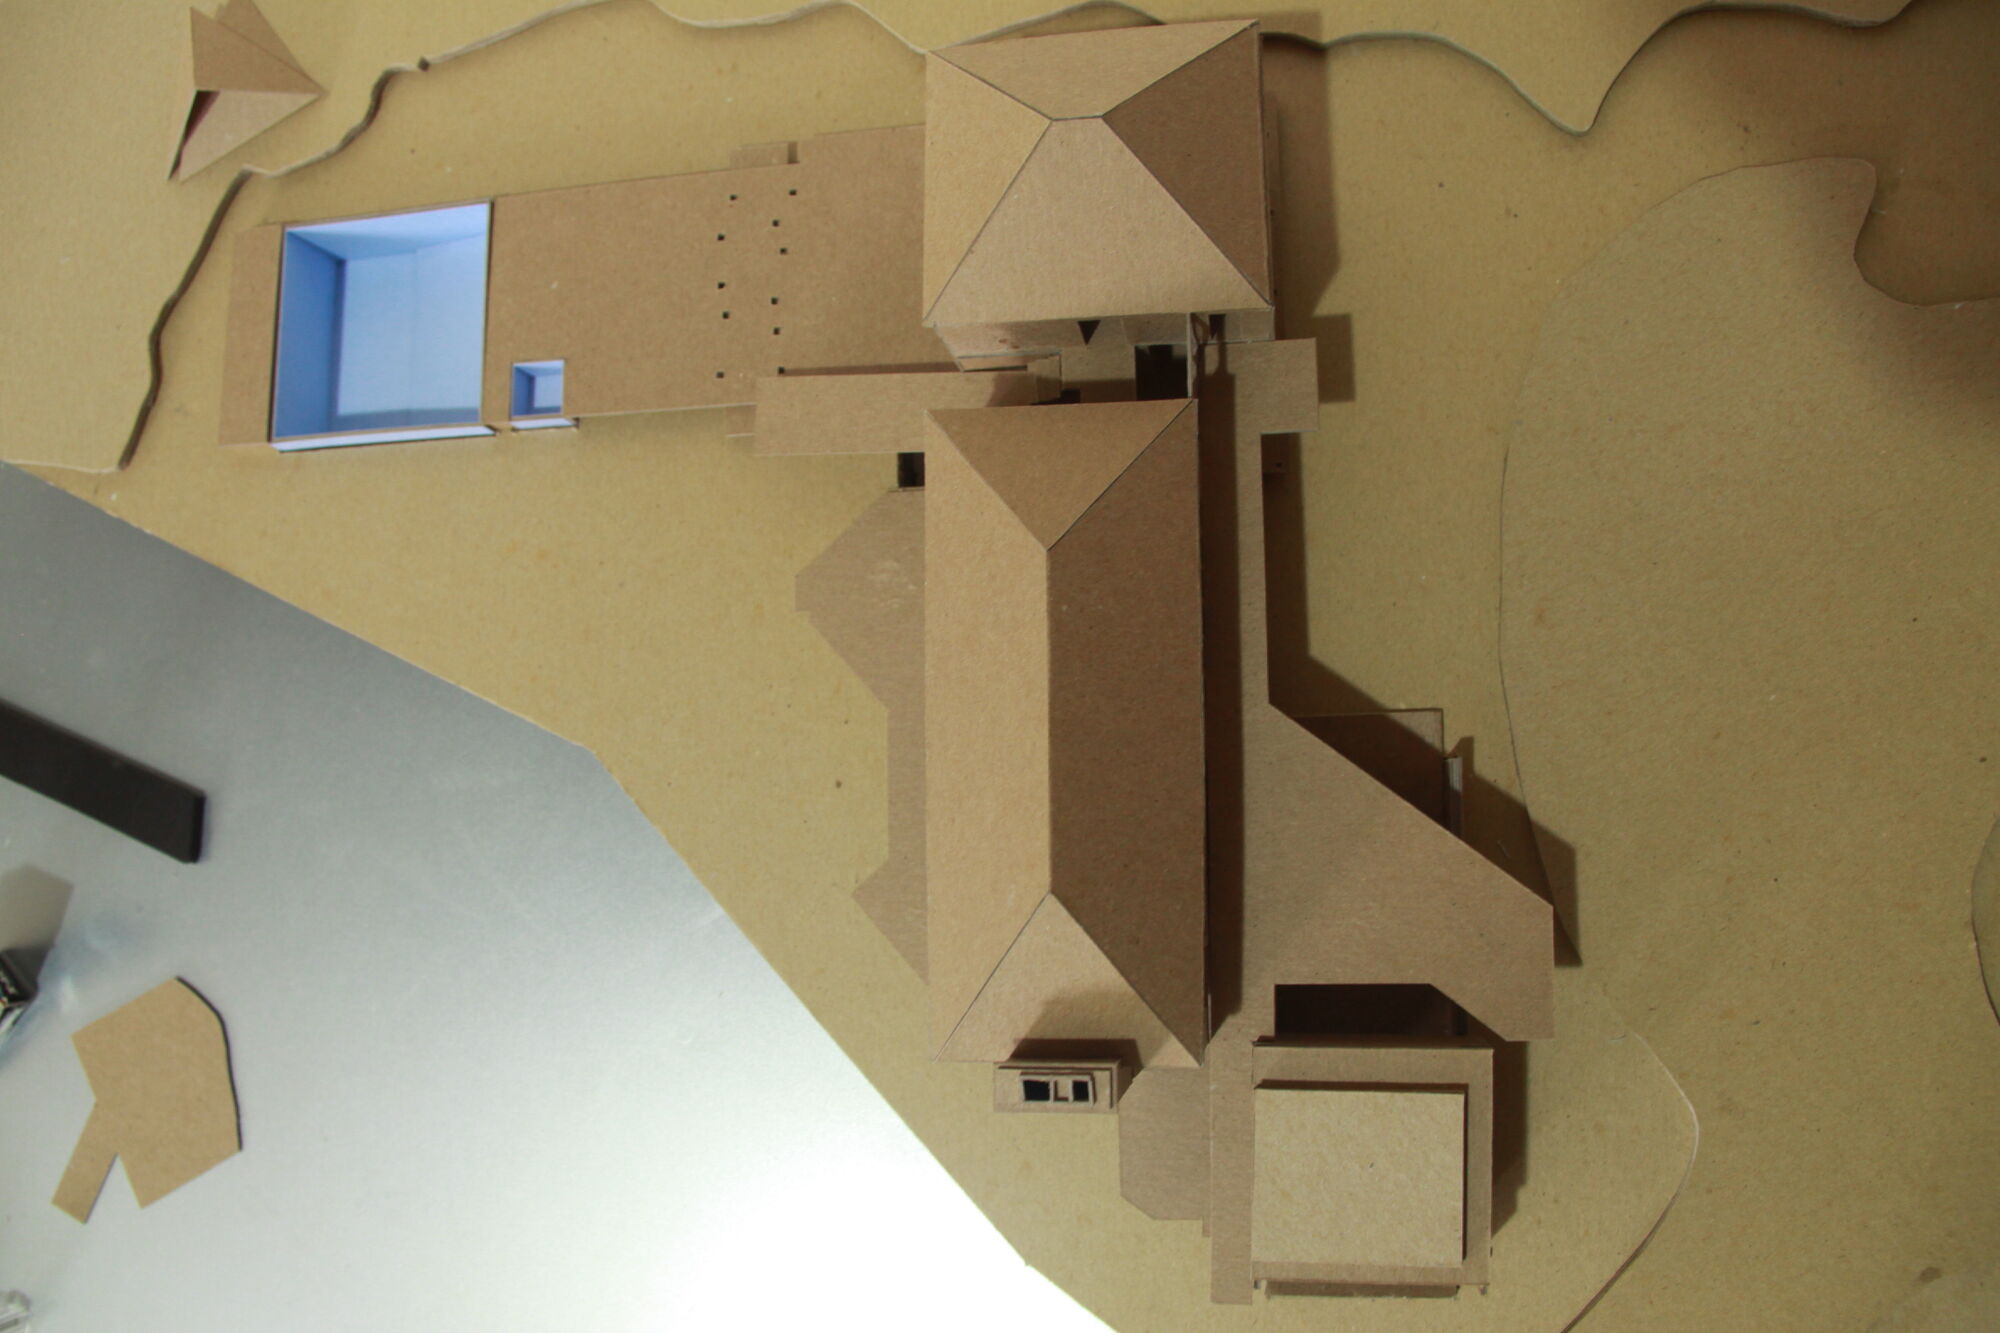
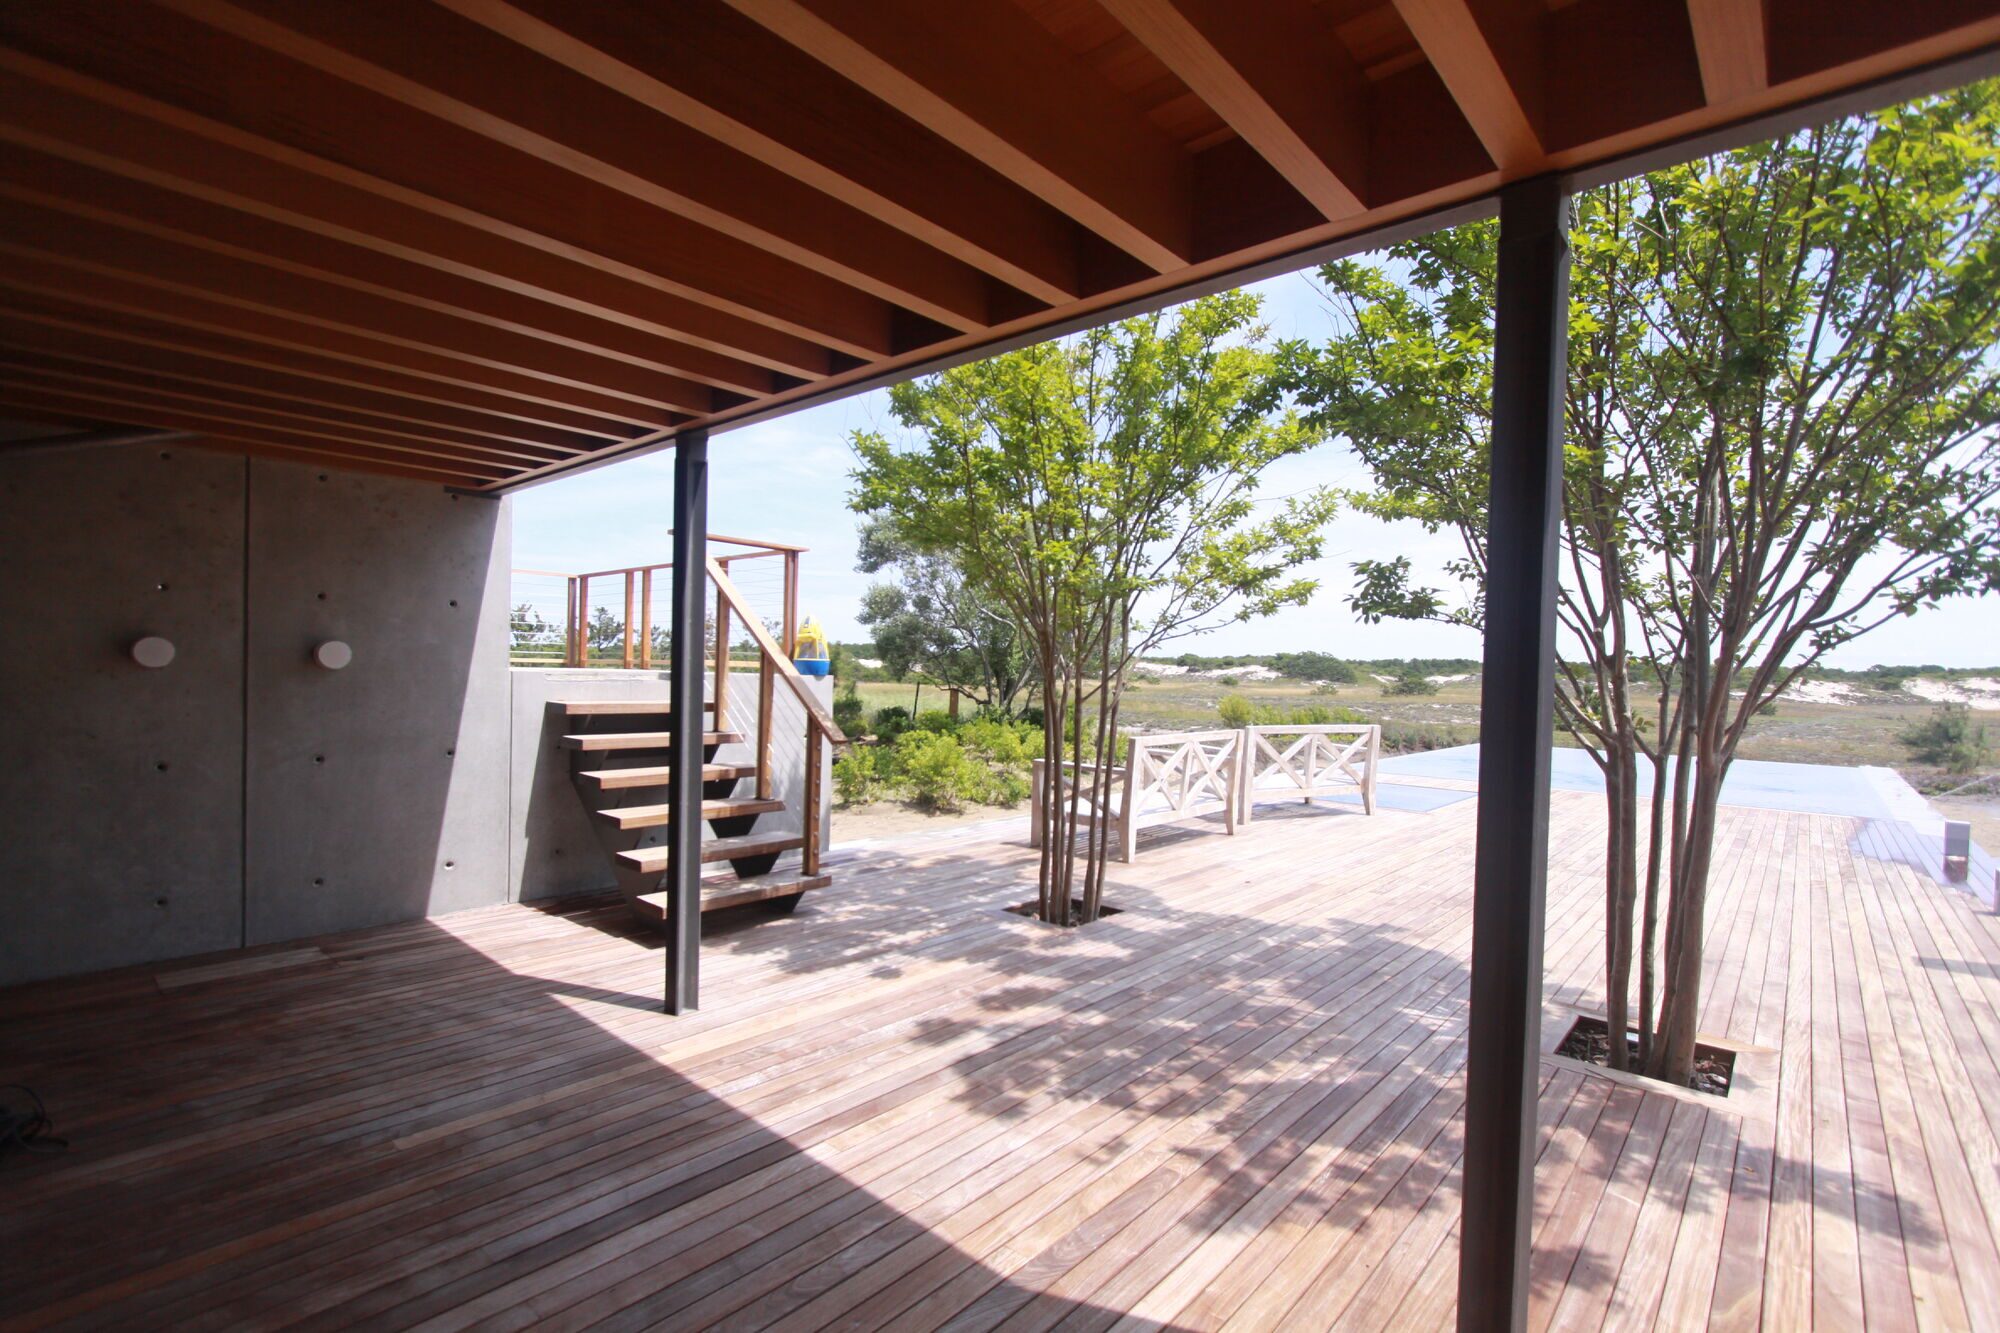
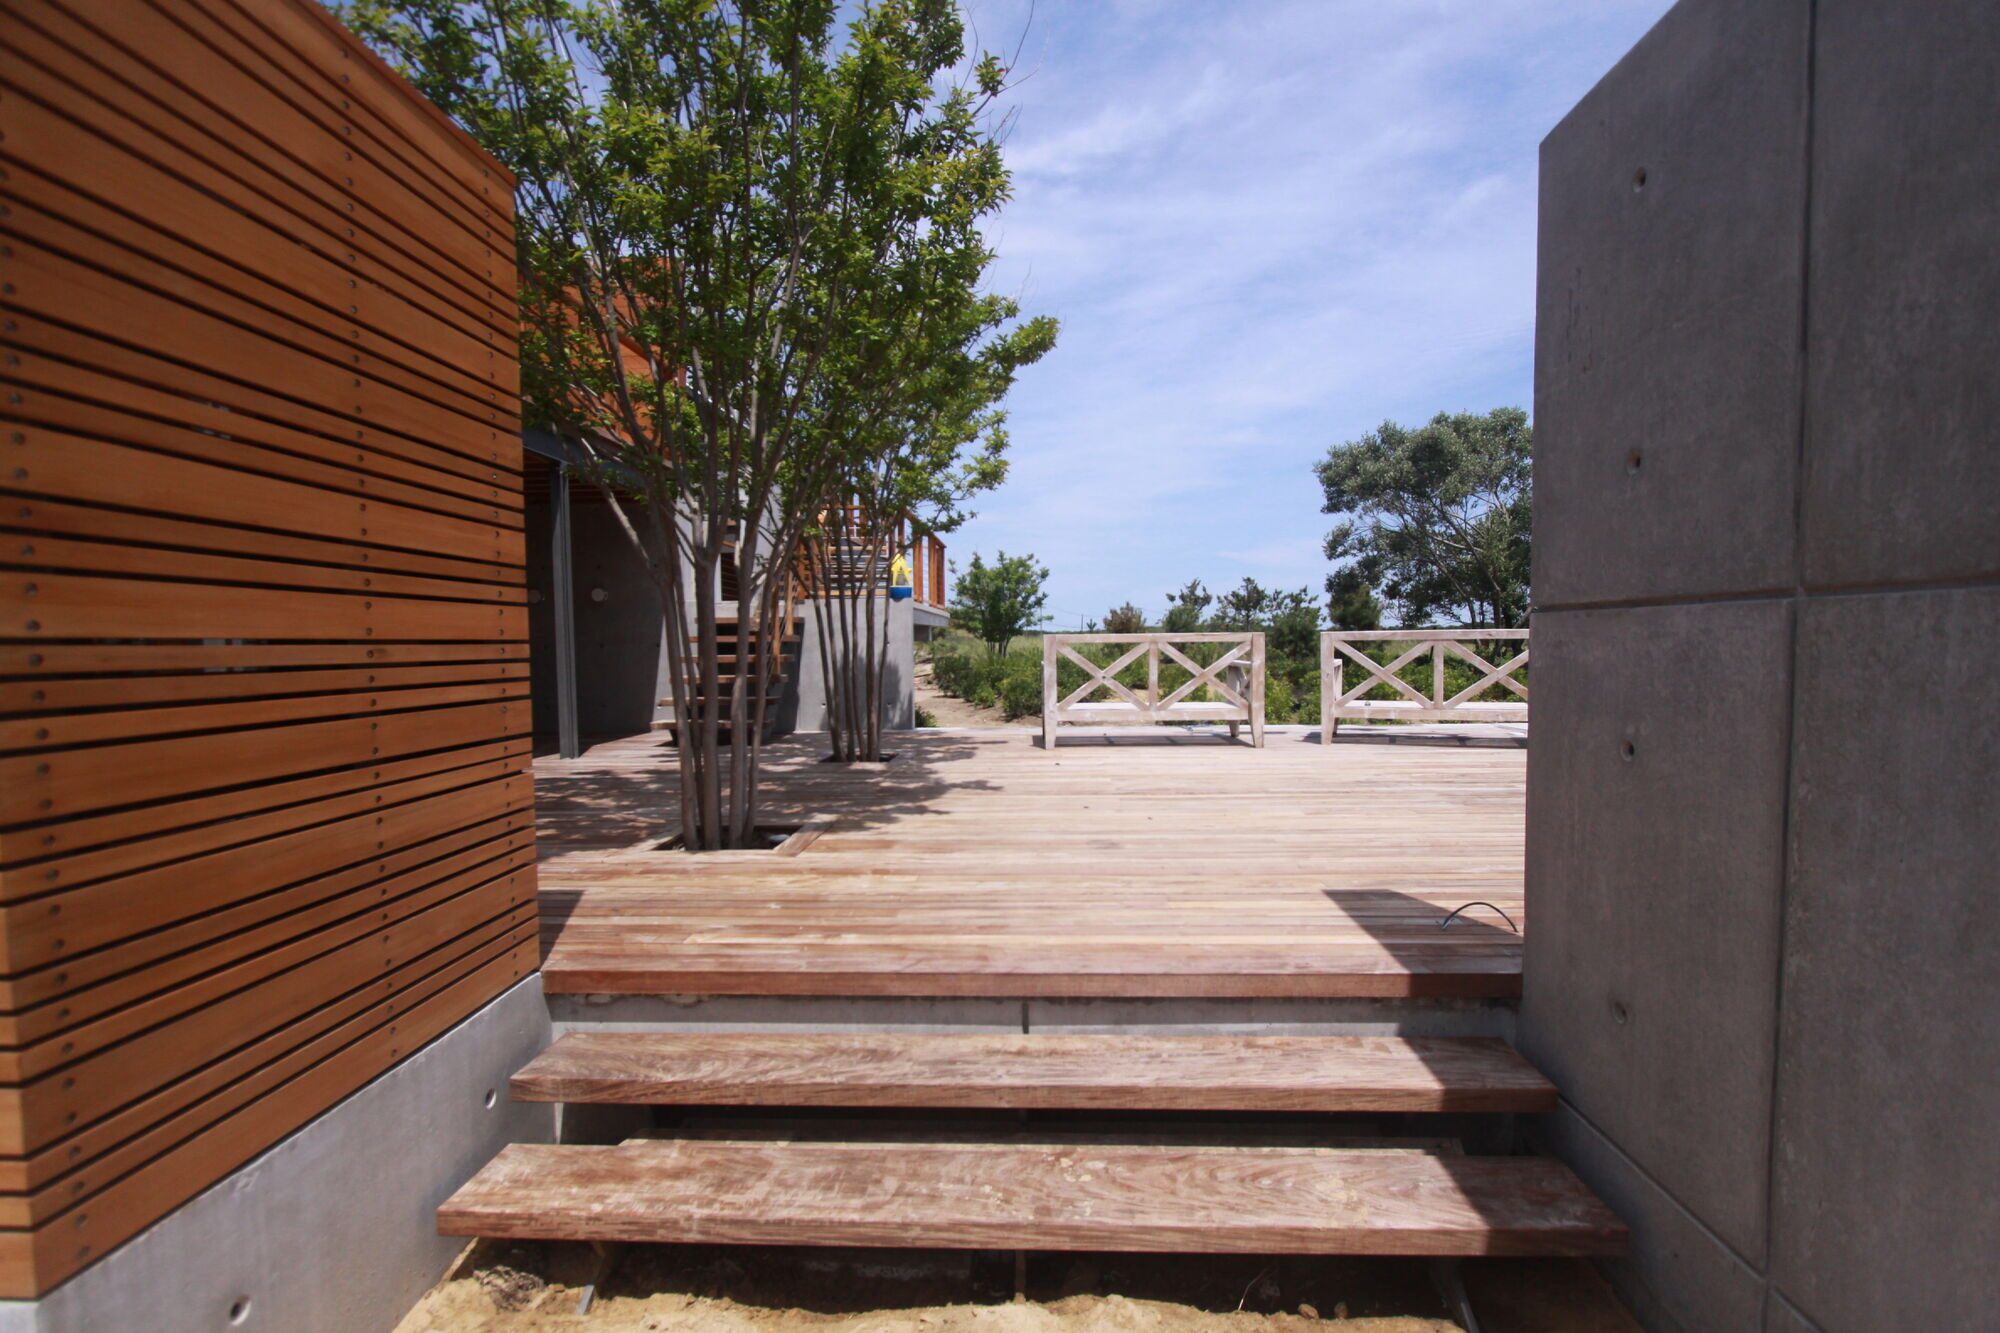
The house in Amagansett came together in two phases. First KOPOS renovated the existing house. Then KOPOS designed an addition: a garage, a pool deck and a run of concrete walls that hold the grade, frame the outdoor spaces and tie the new work to the old. Those walls are left exposed, inside the garage and out in the landscape, so every decision about how they were made can be seen on their surface.
With exposed concrete, you can’t fix it after the pour. What you see is what the forms, the mix and the pour leave behind. So the design work happens before any concrete is placed.
Why concrete, and why cast in place
The walls of the addition do real work. They retain soil where the site drops away, they define the pool deck and the garage, and they have to stand up to salt air, sun and freeze-thaw on the East End. The goal was one material that could do all of that and still be beautiful.
Concrete block with a veneer would have meant two materials and a seam between them. KOPOS chose cast-in-place architectural concrete instead: the same material all the way through, with the structural wall and the finished face as one piece. That choice raises the stakes, because the surface can’t be covered up later. It’s also what gives the walls their calm, monolithic presence.
Designing the forms
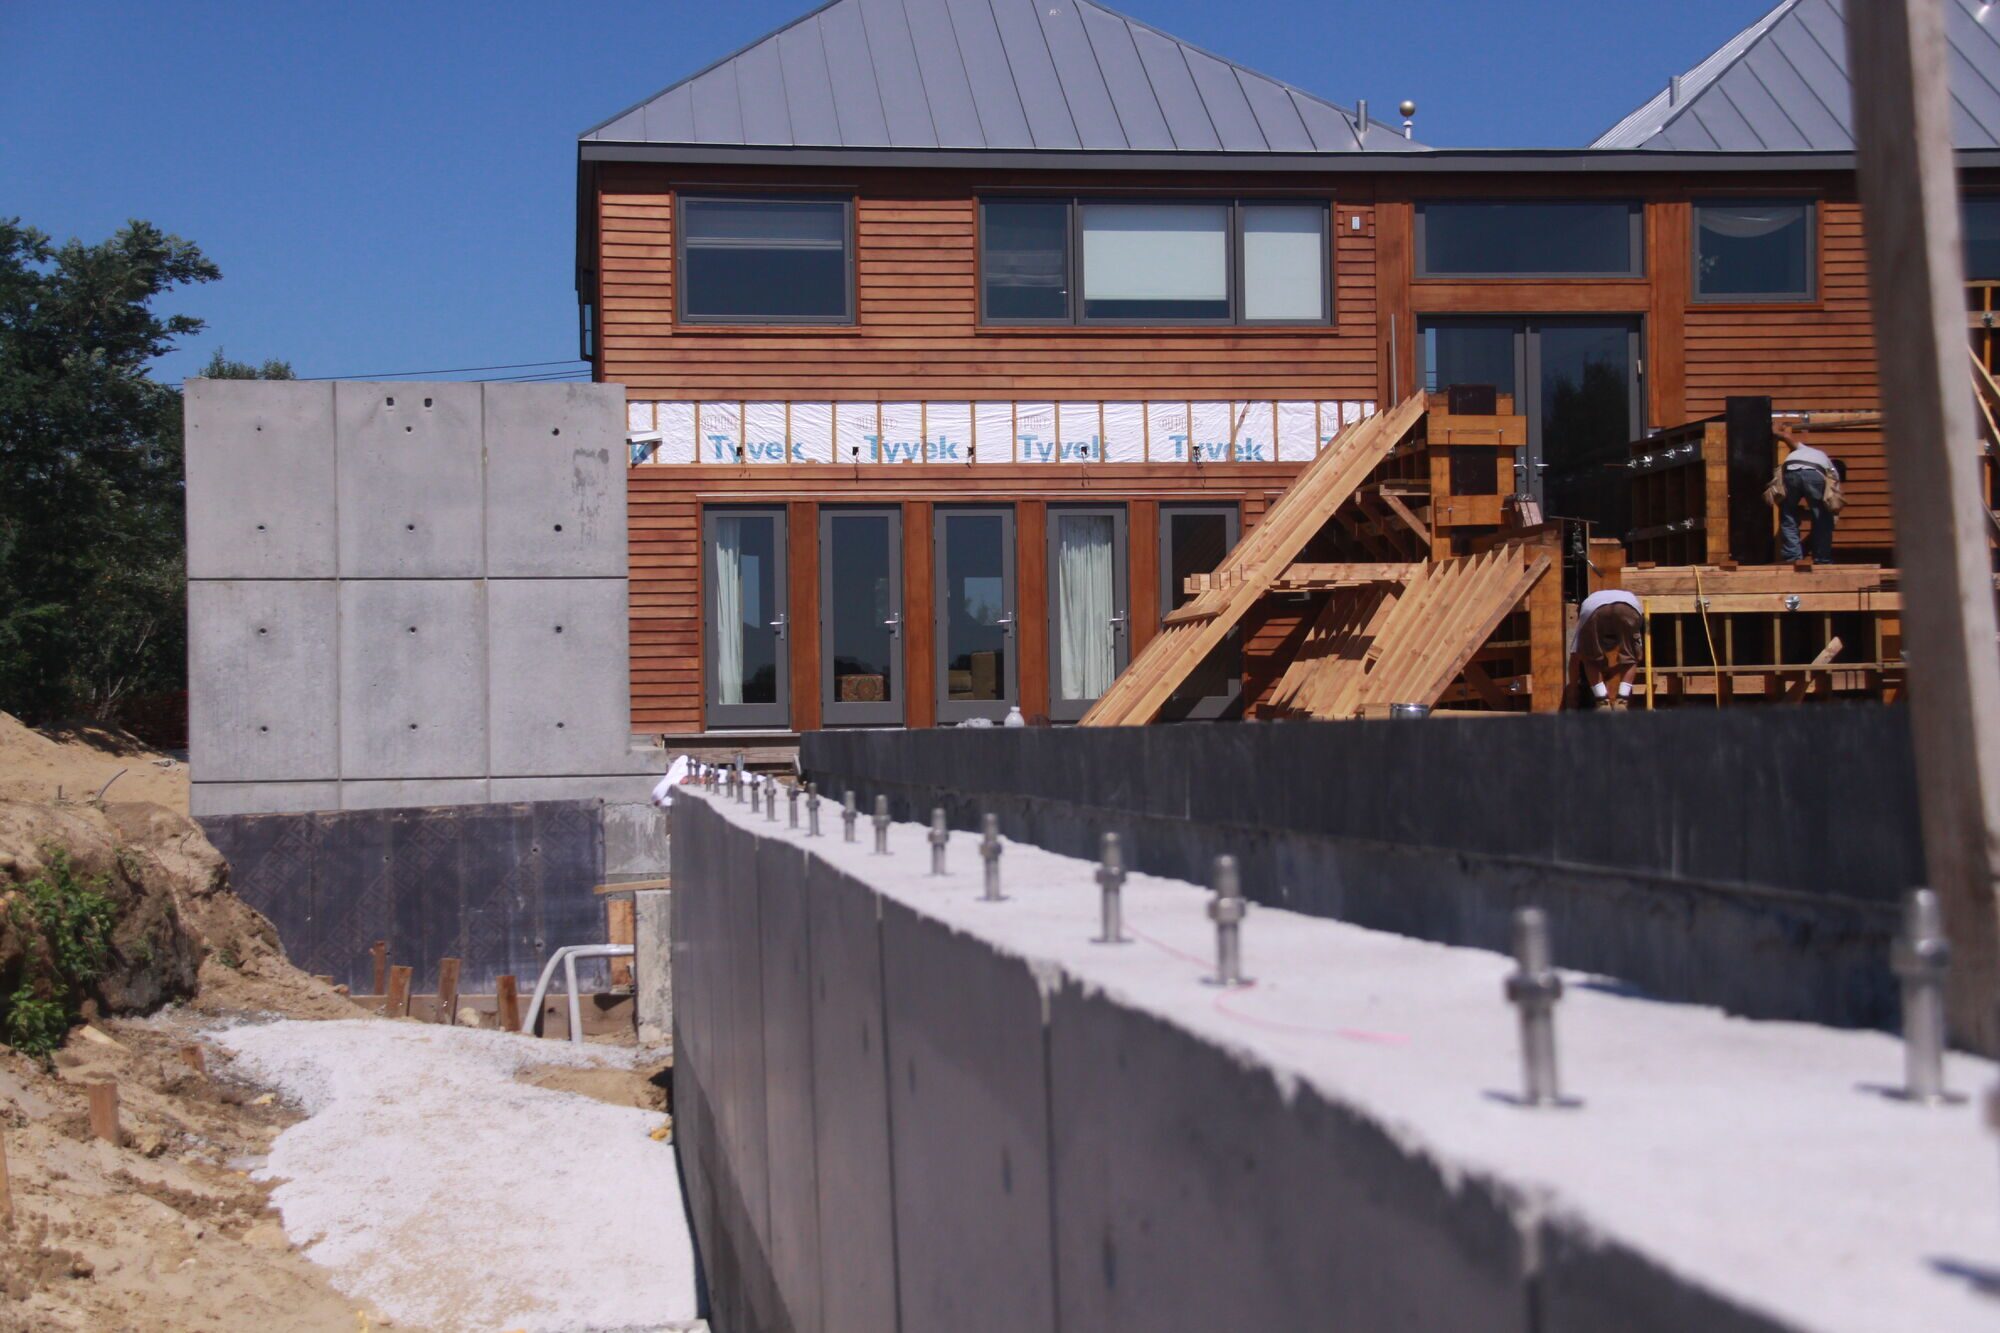
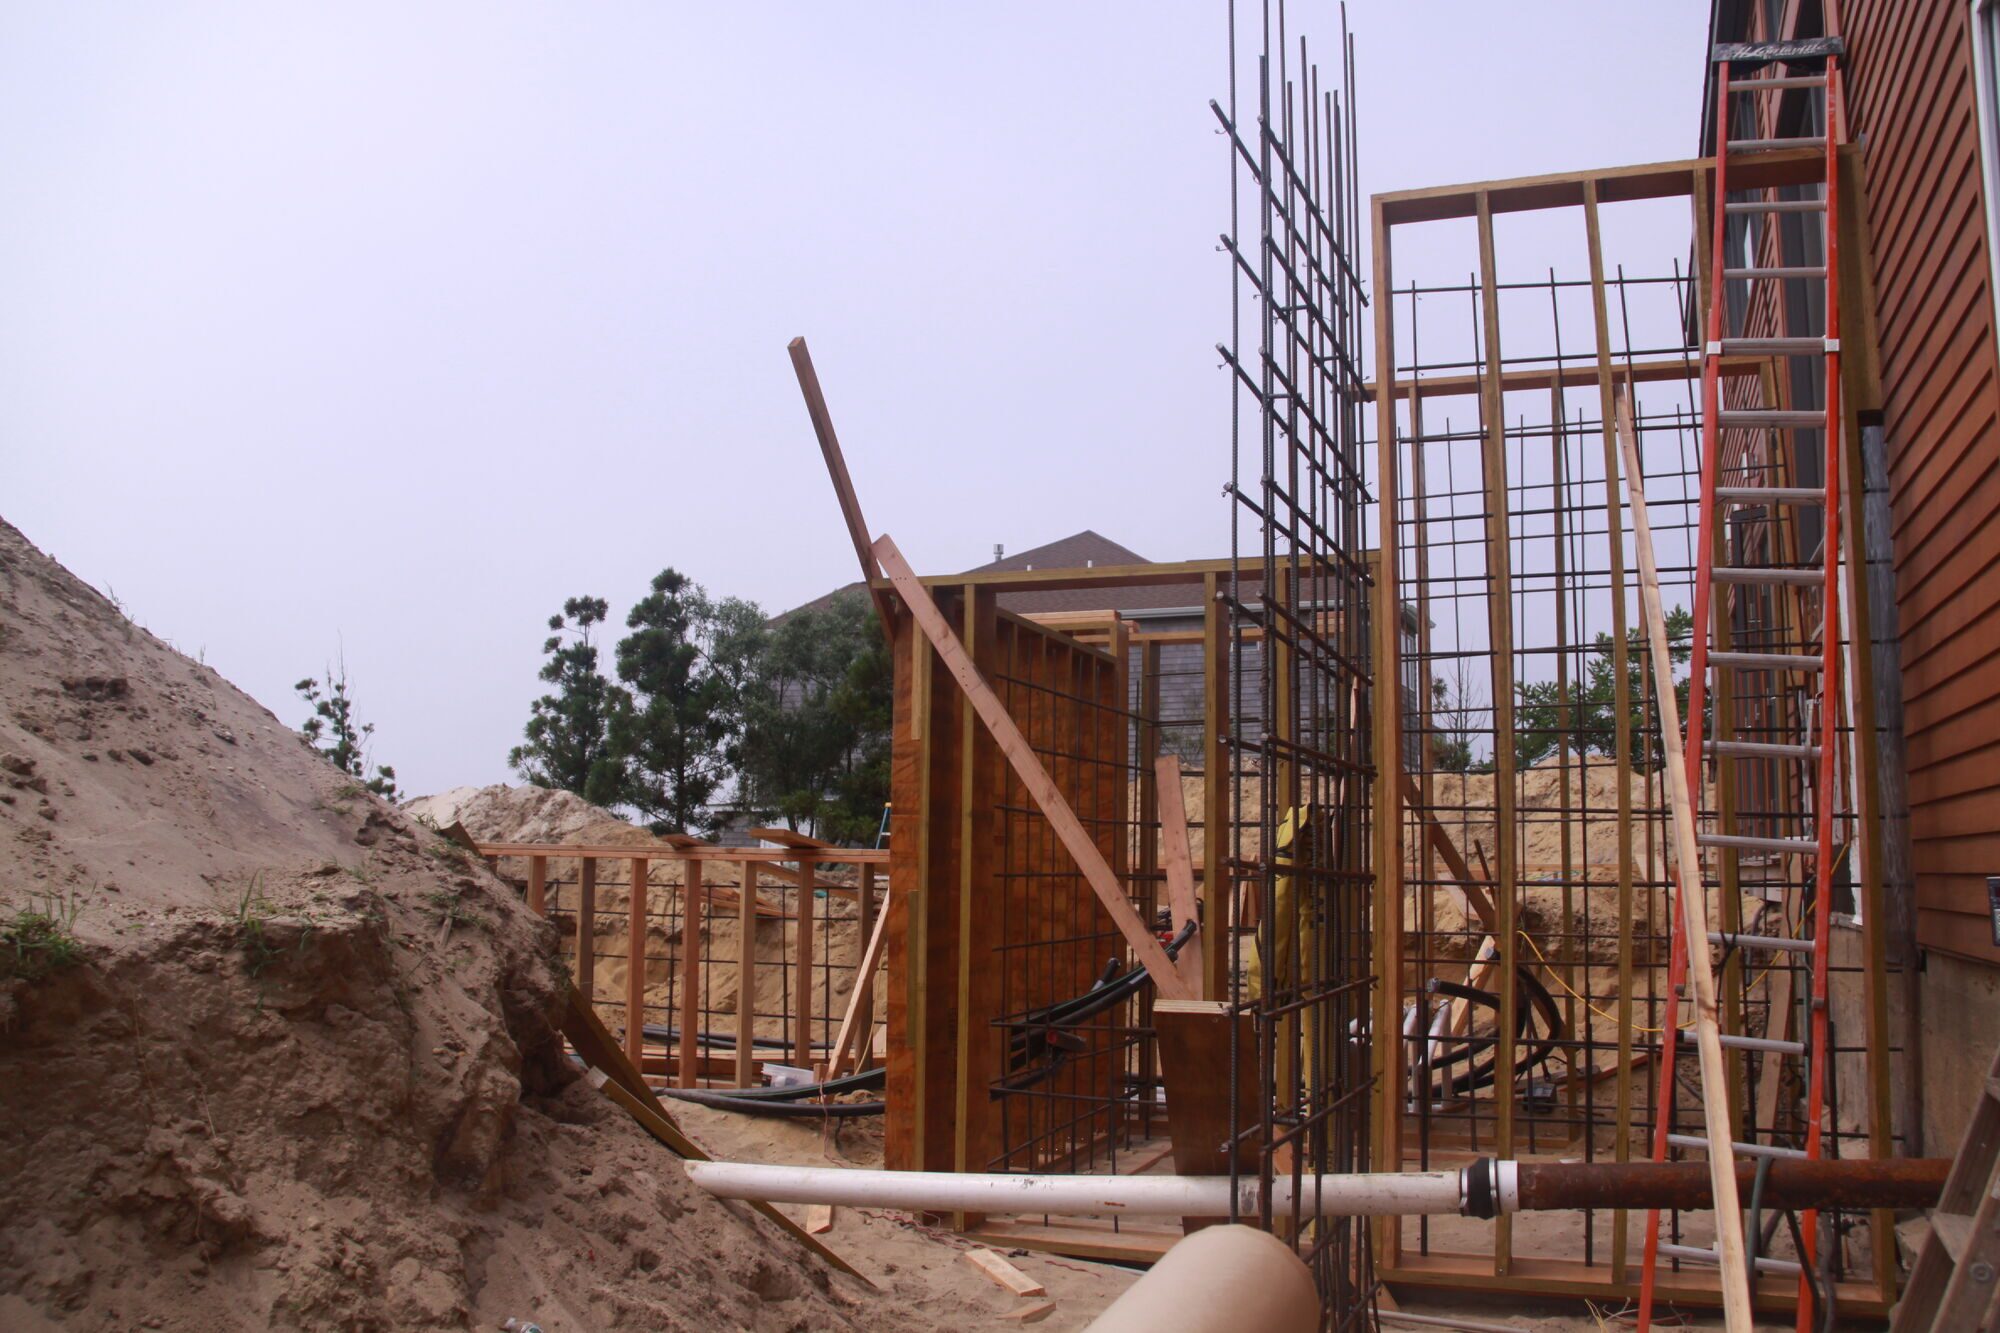
Concrete takes the shape and texture of whatever it’s poured against, so the formwork was designed as carefully as the wall itself.
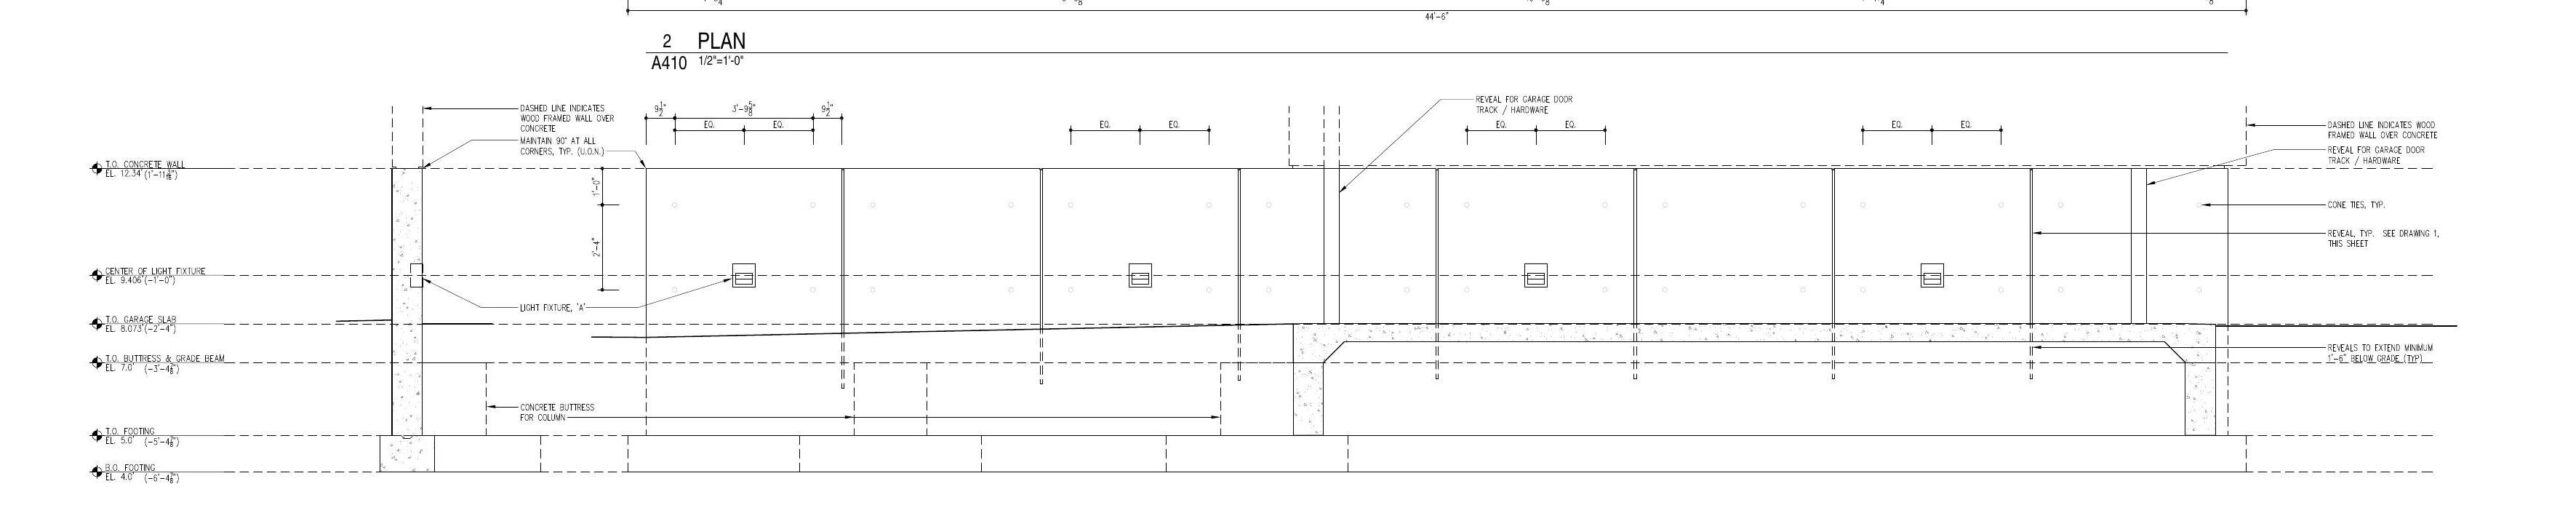
The forms are prefinished plywood (WISA-Form Pro), specified in the largest practical panels so there are as few joints as possible and every joint is intentional. Panel joints, tie locations and reveals were all laid out on the wall elevations, the way you would lay out stone coursing or window mullions.
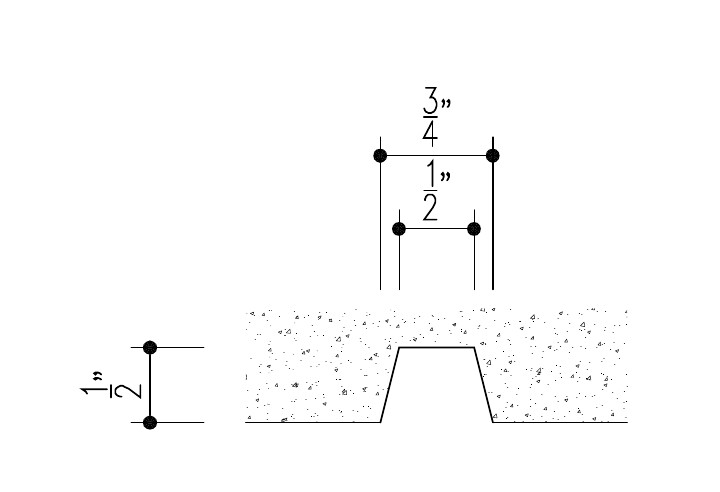
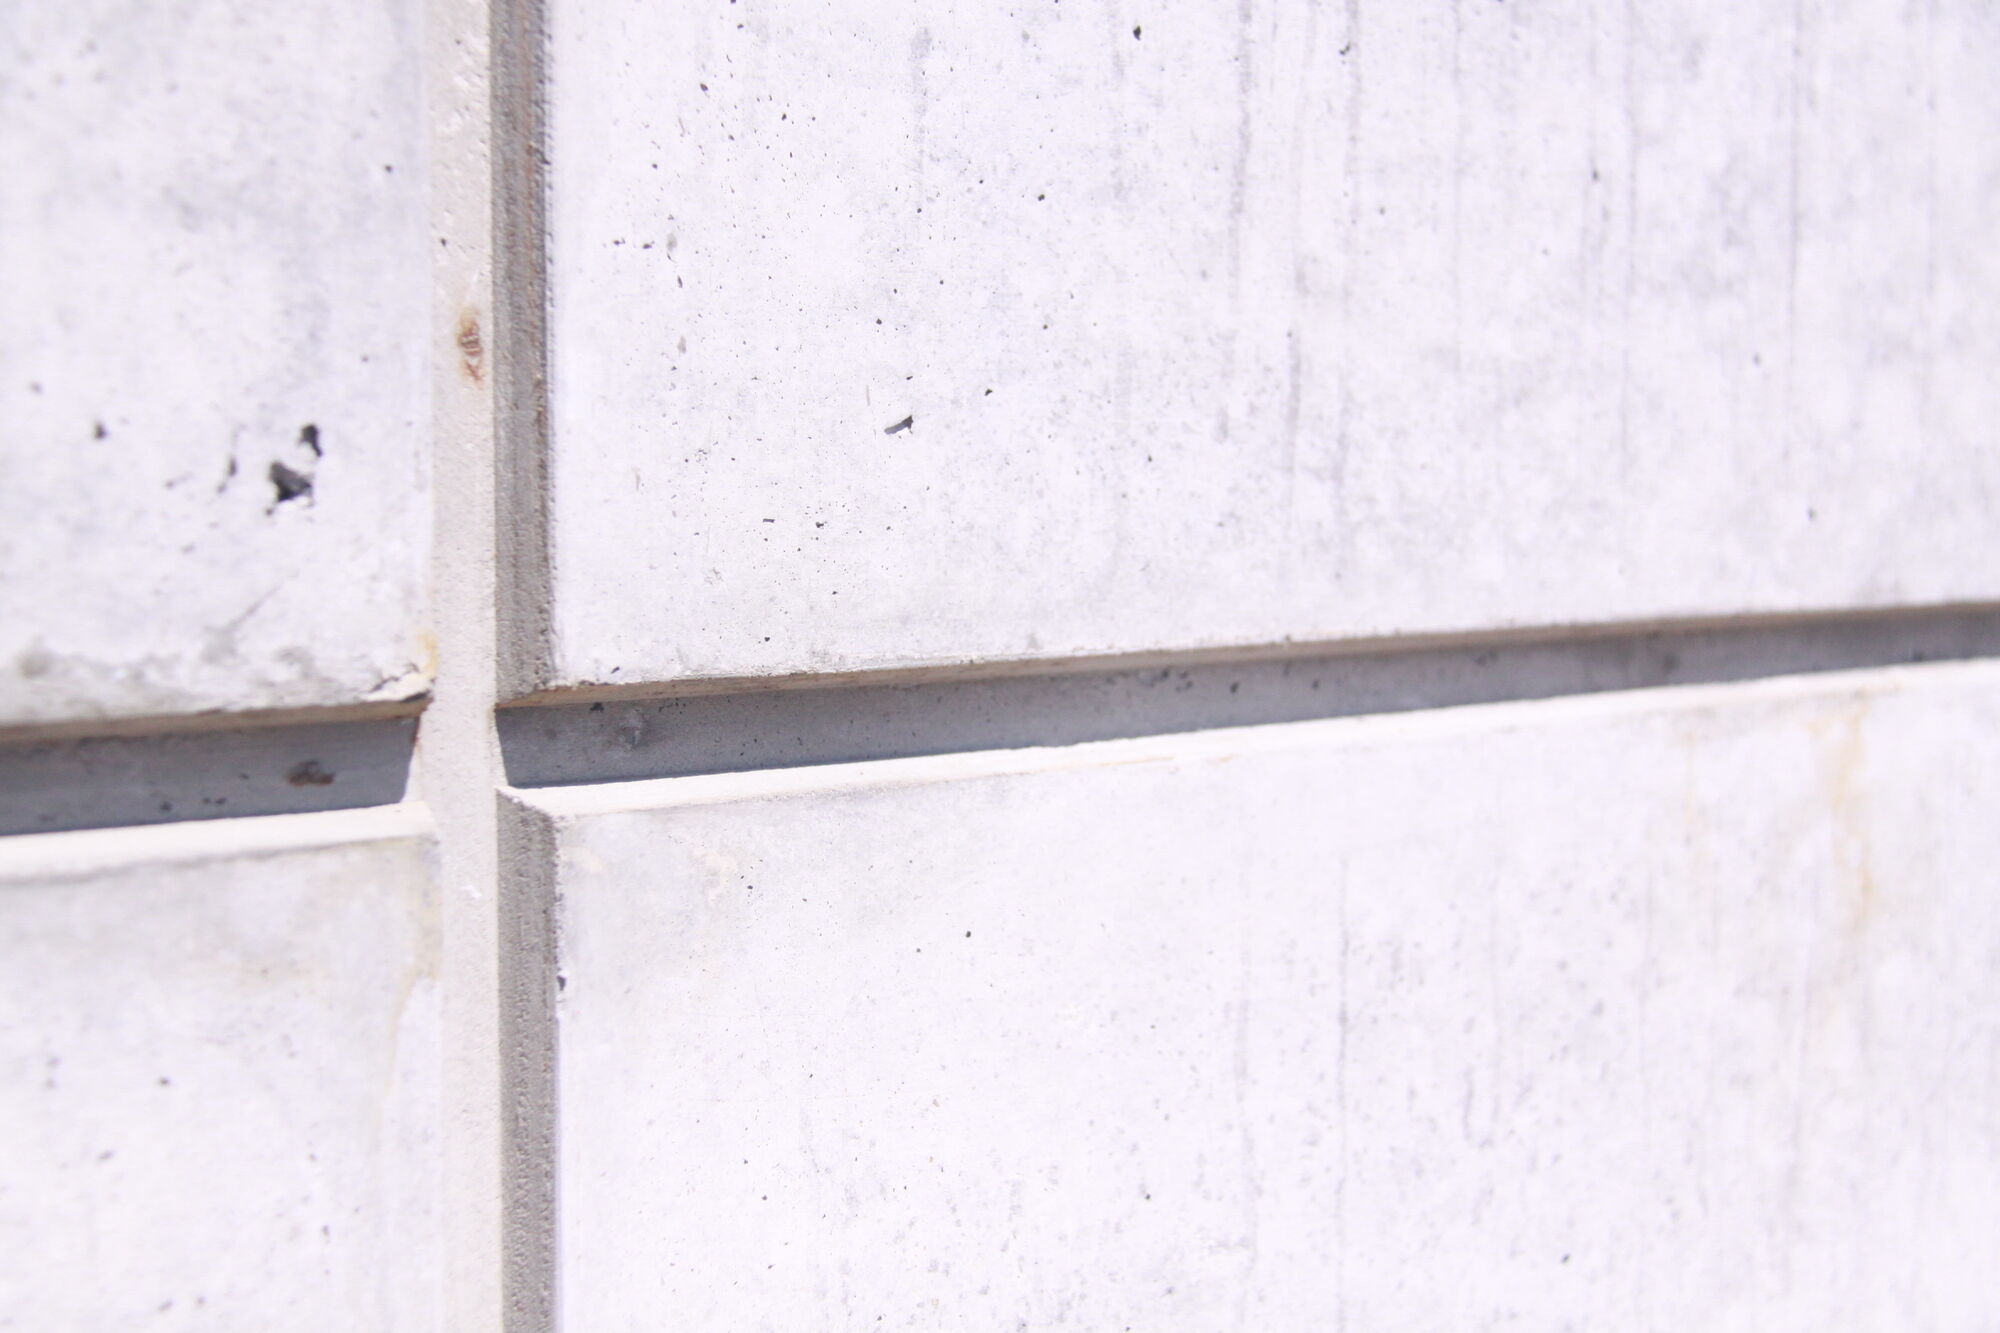
Where panels meet, a small tapered reveal is cast into the face, 3/4 inch wide at the surface, narrowing to 1/2 inch and 1/2 inch deep. A flush joint between two pours almost never lines up perfectly, and the eye catches every lip and color shift. The reveal sets each joint in a crisp shadow line, so the seams become a deliberate grid.
The specification also prohibited reusing forms on exposed walls. Plywood picks up scuffs, swelling and residue with every use, and each of those would print onto the next wall. Every face you can see was cast against a fresh panel.
Proving it with a mockup
Drawings can describe a finish, but they can’t show it. Before any real wall was poured, the specification required a cast mockup, a full-size sample panel made with the same forms, mix, ties and reveals planned for the project. It’s where color, surface, joint treatment and tie holes get judged and agreed, while changes are still easy to make.
The mix itself was tightly controlled. A water-to-cement ratio of 0.45 or lower gives denser, stronger and more durable concrete. Less excess water also means fewer voids and a more even color across the wall.
What the forms leave behind
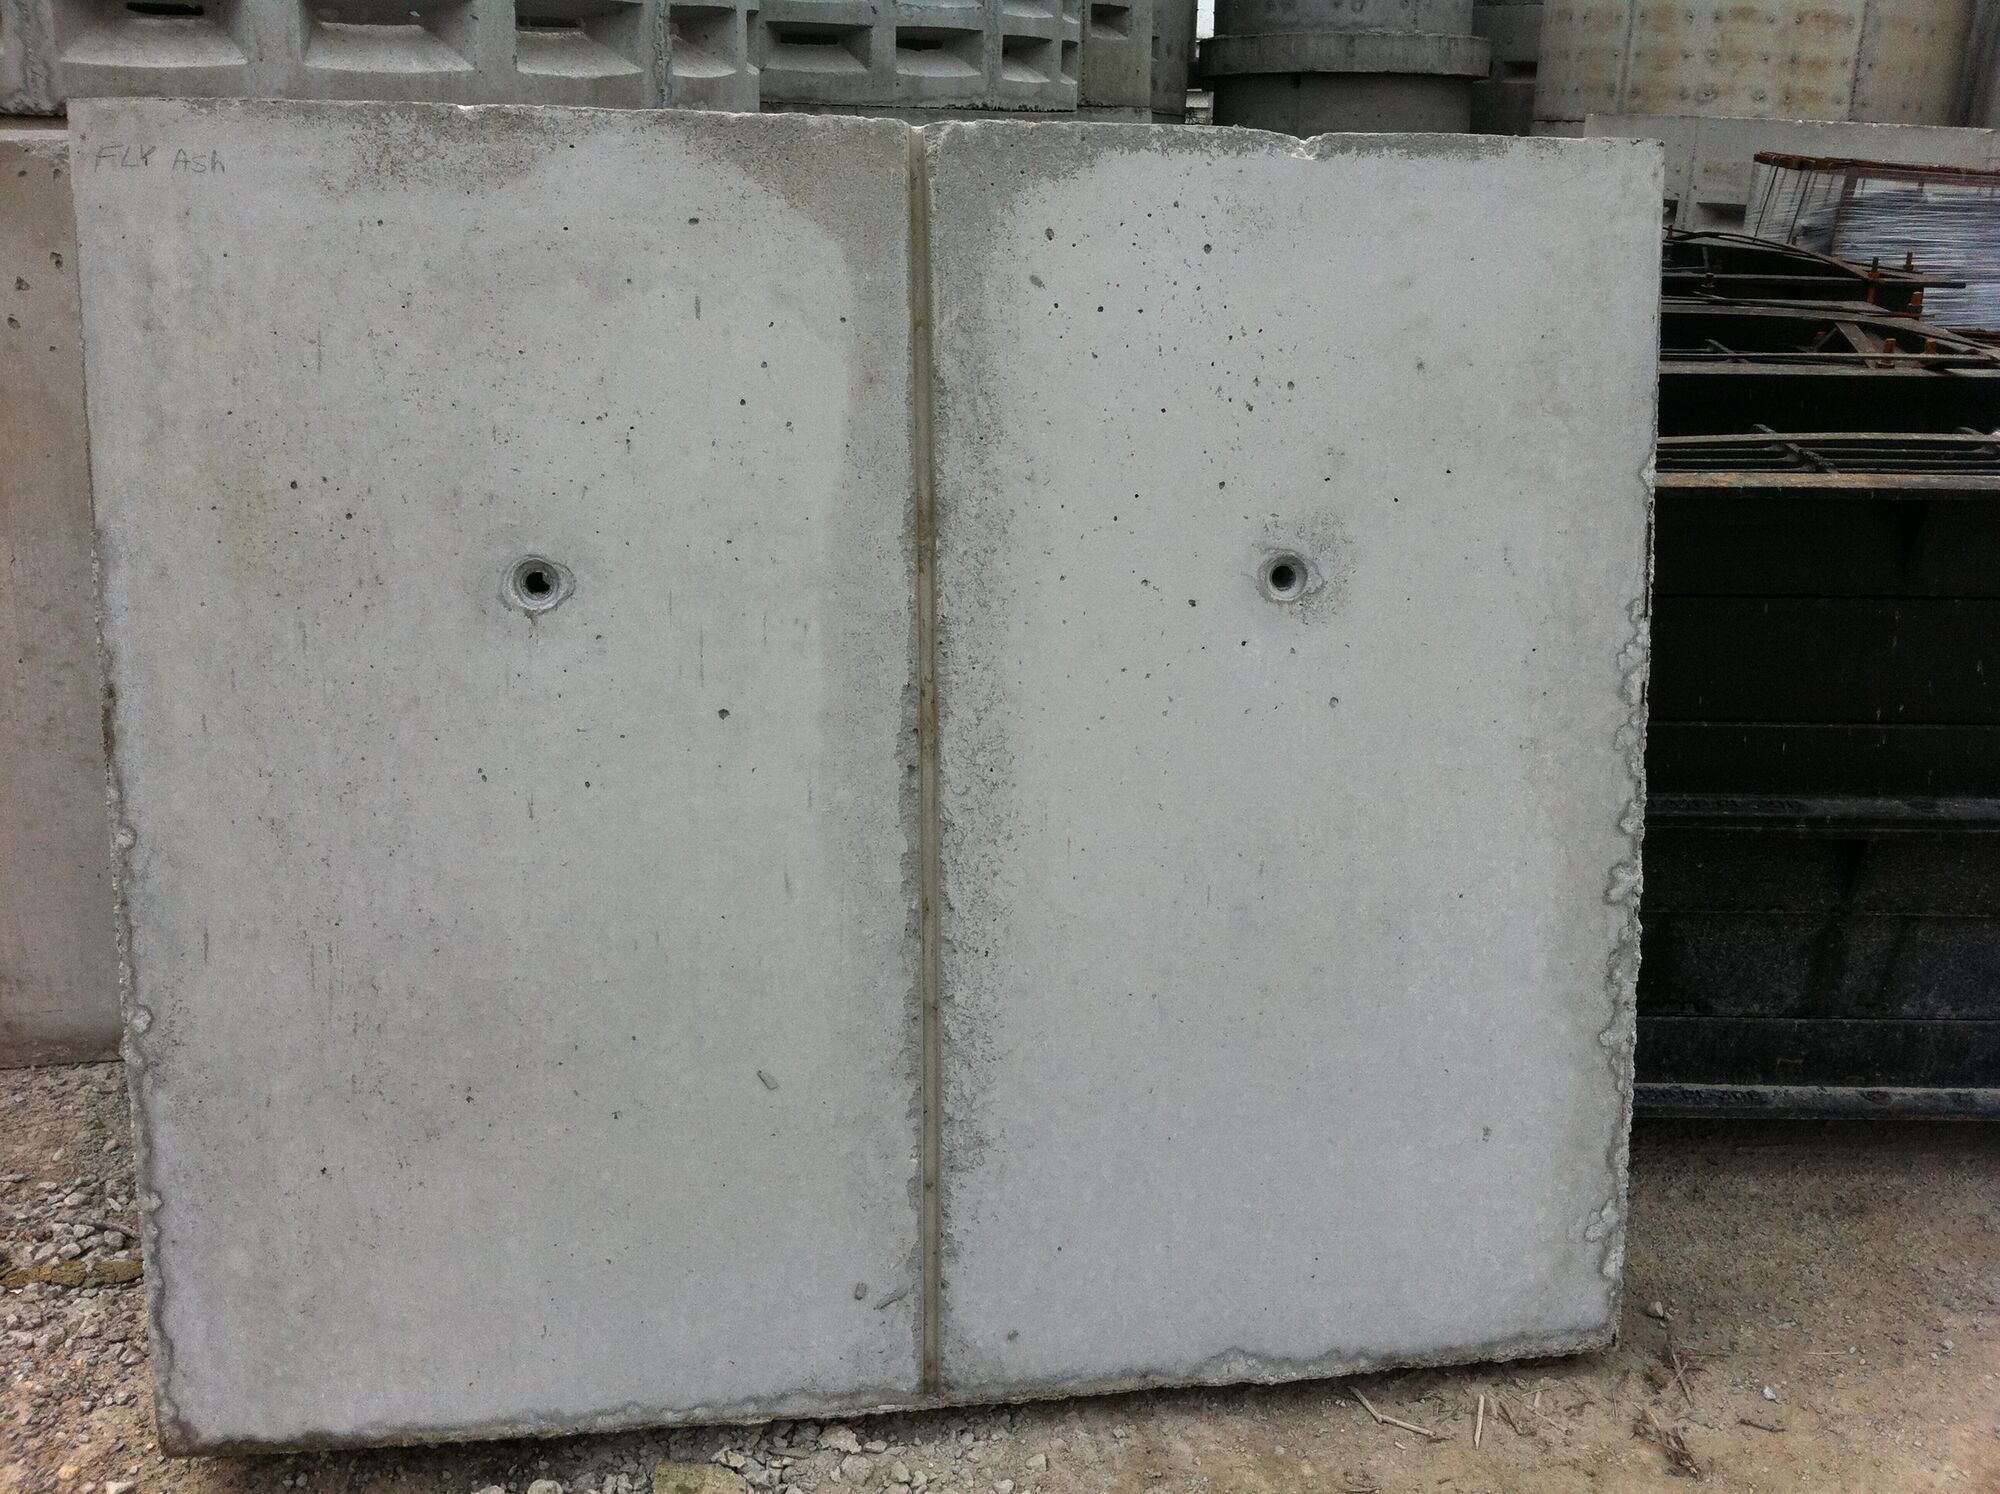
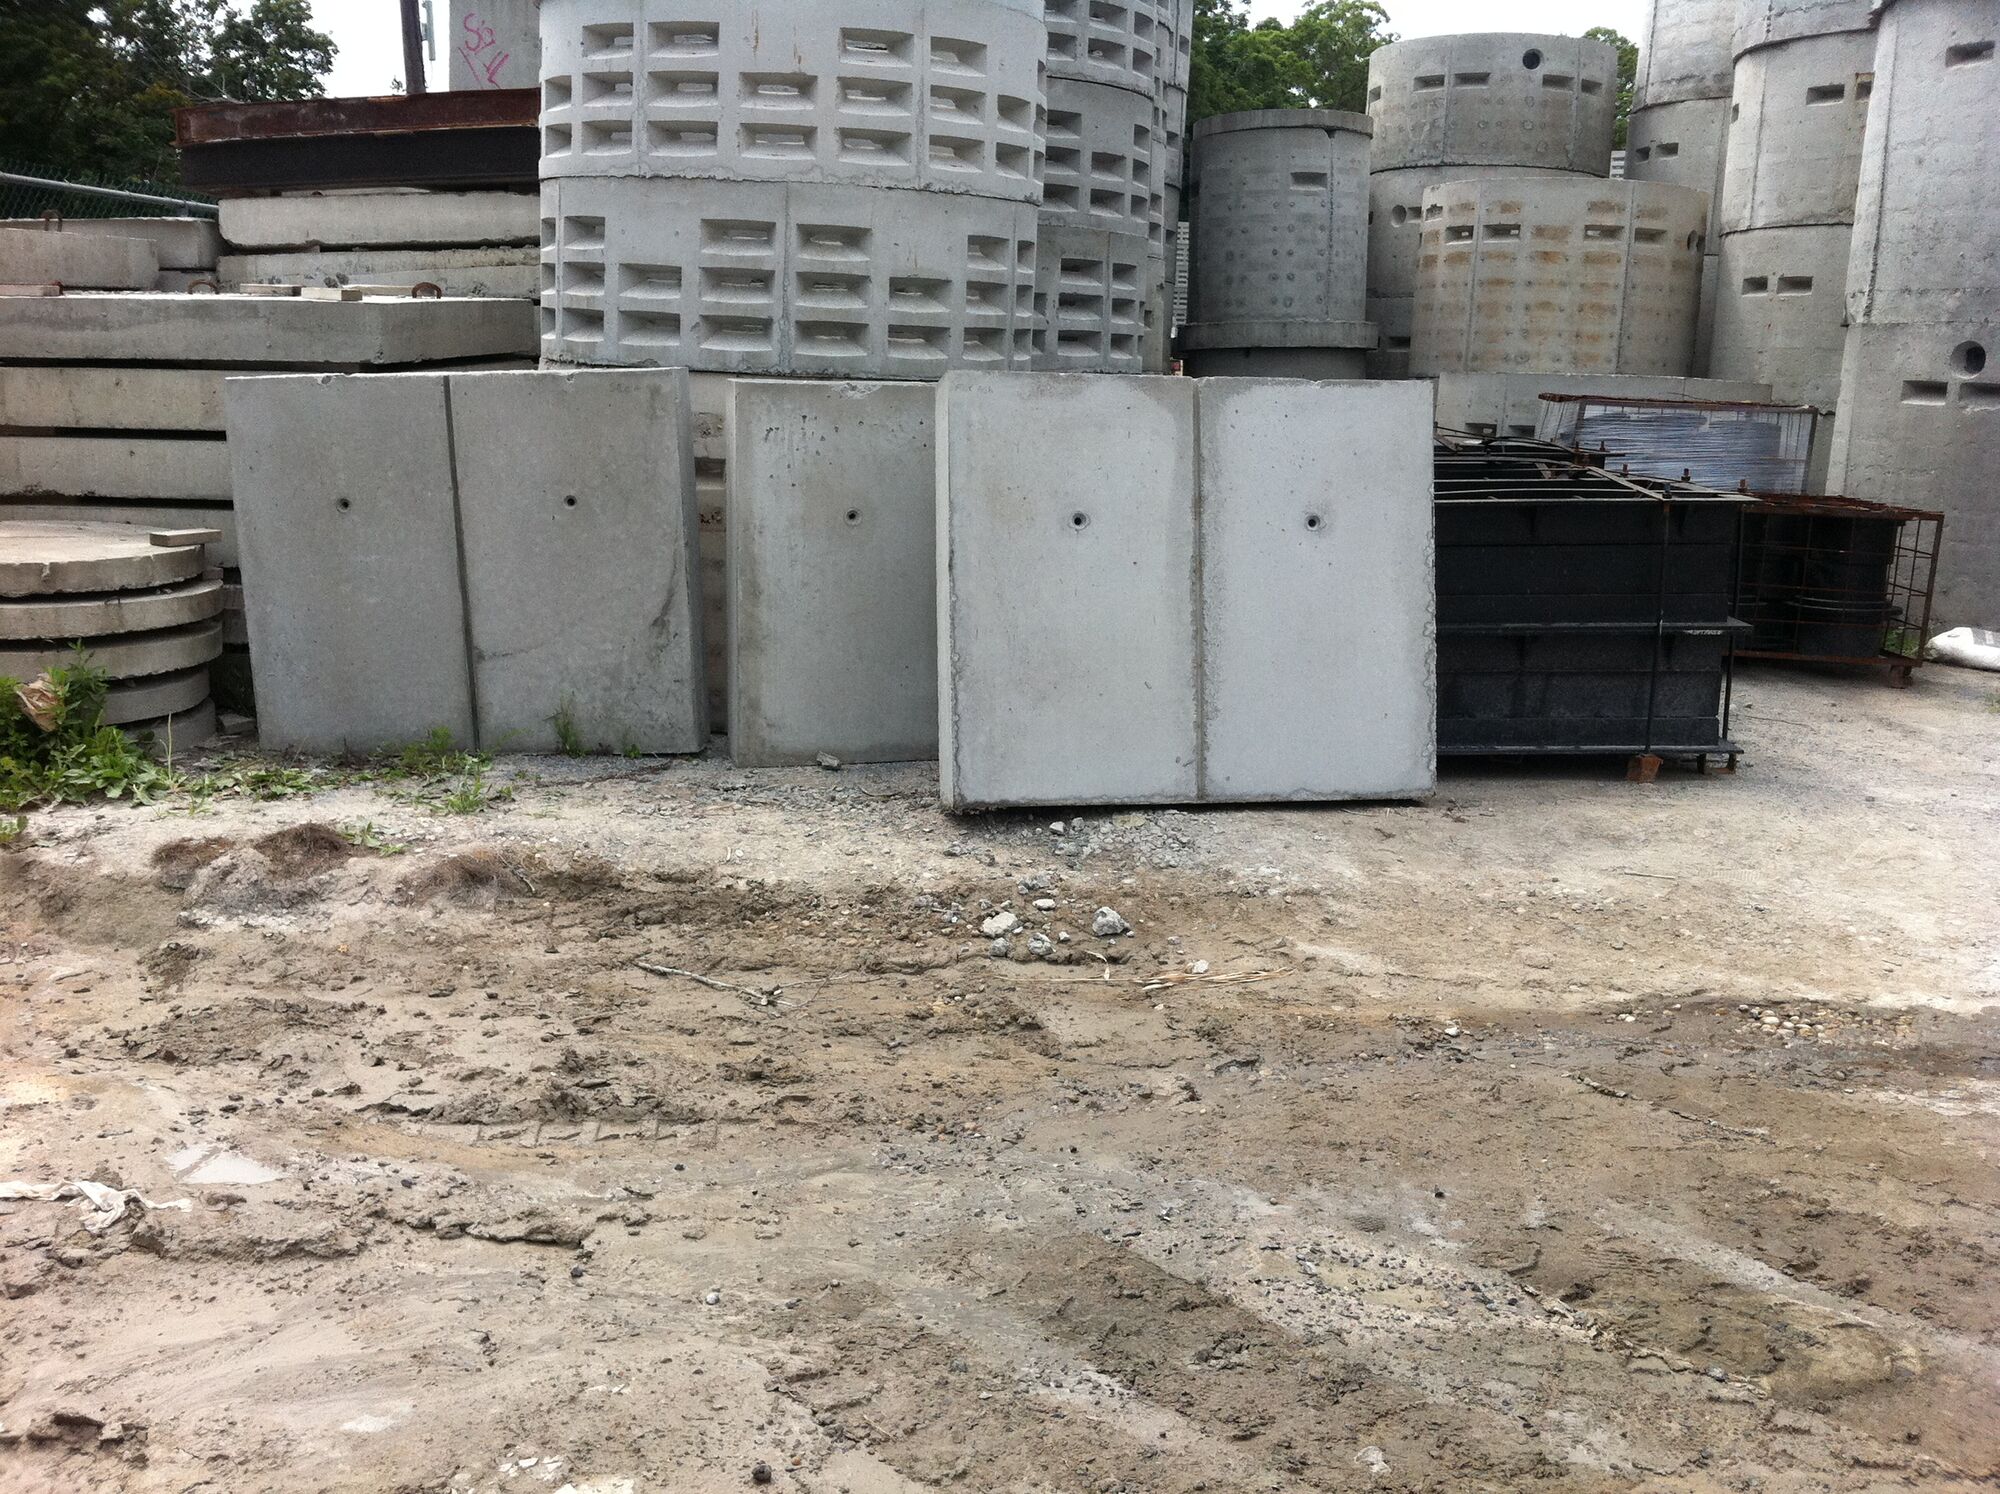
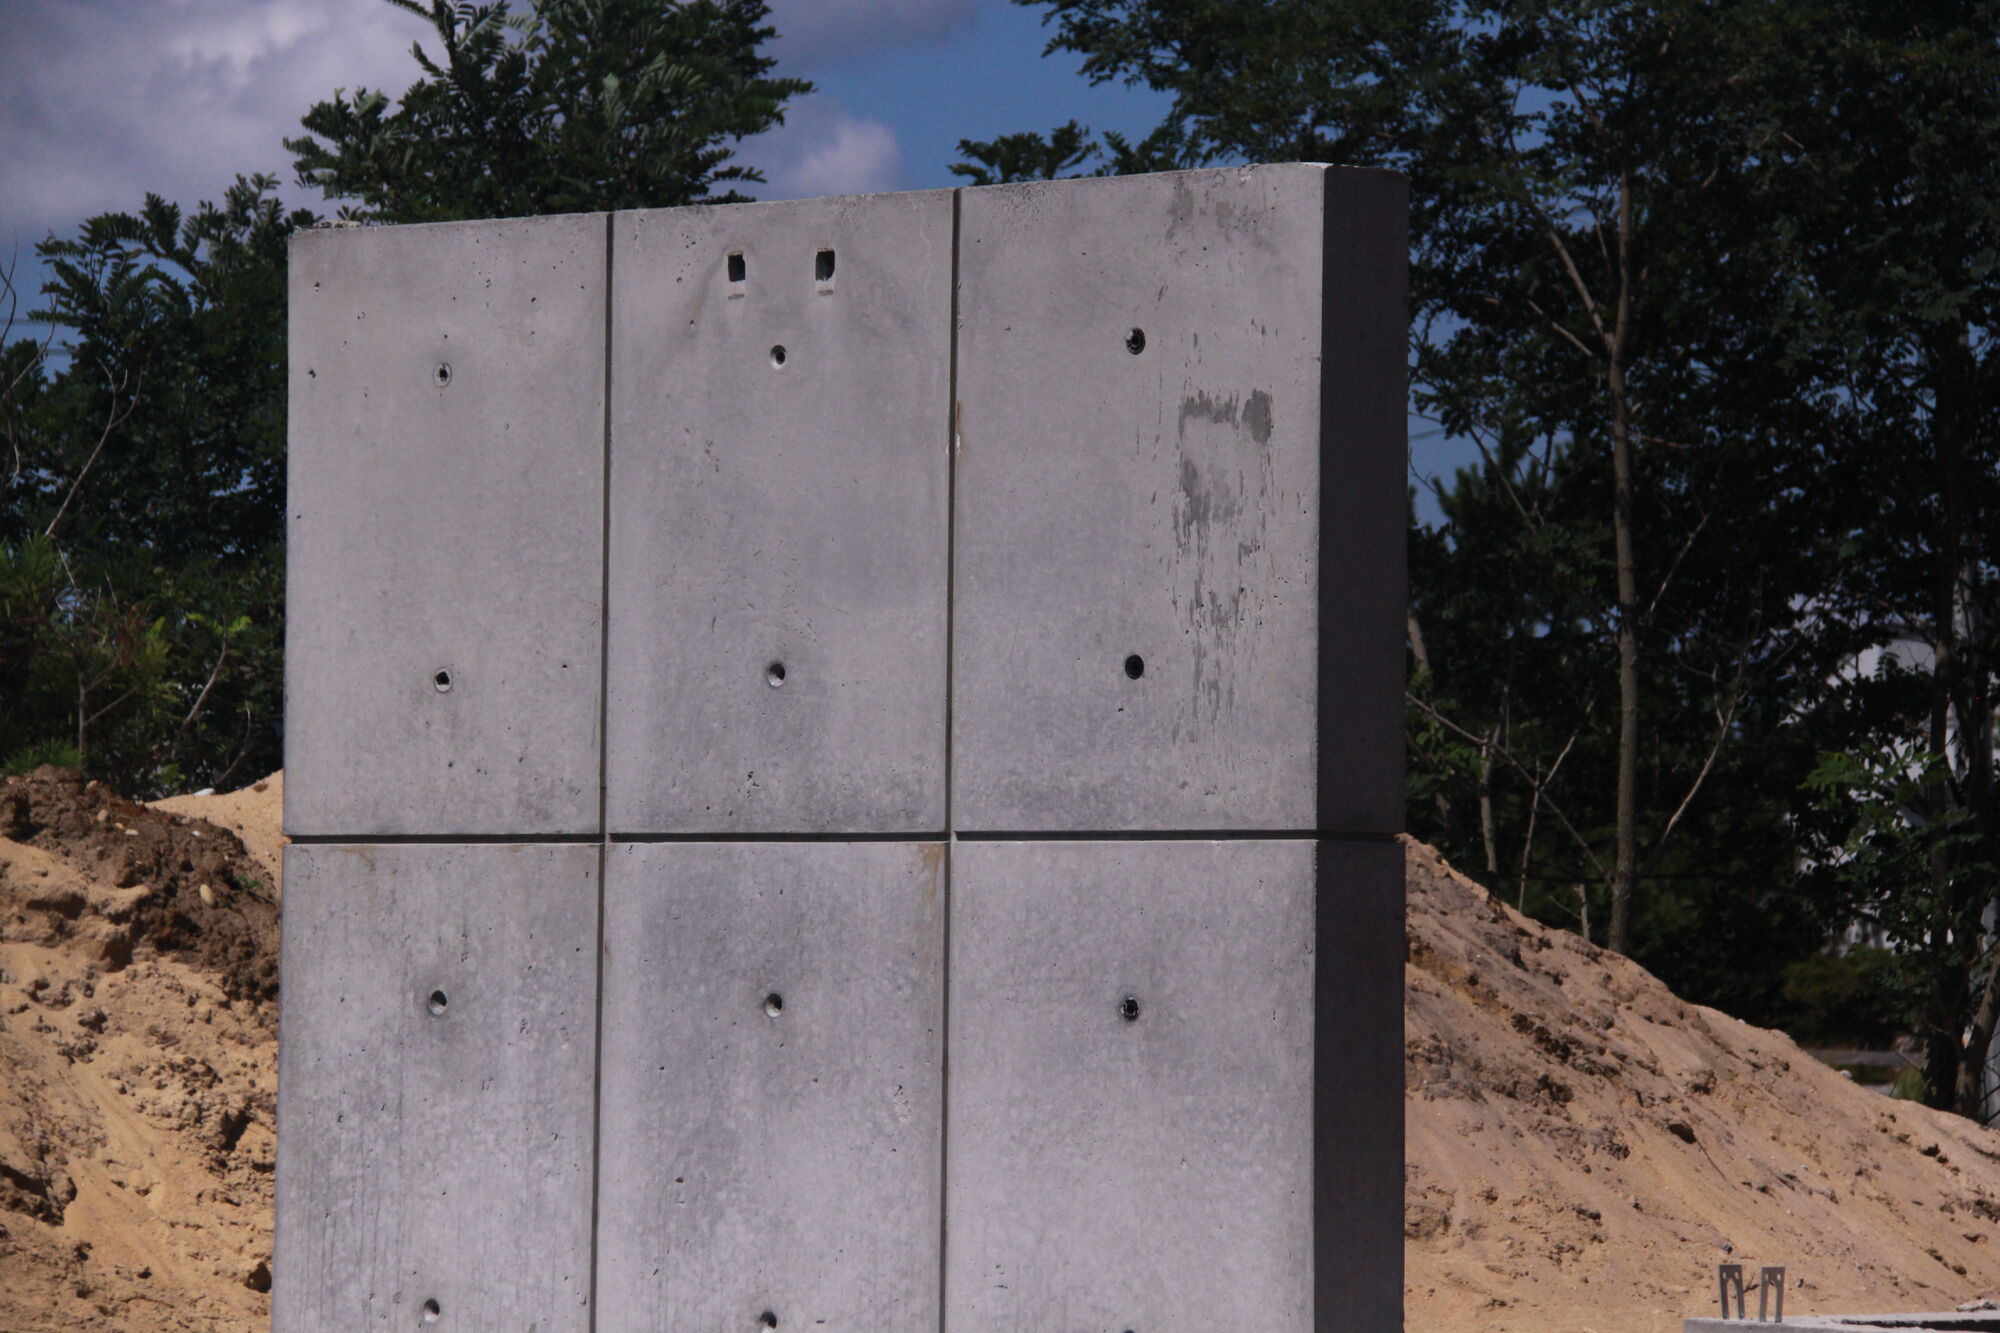
When the forms come off, there’s nothing more to do to the surface. The finish is smooth and as-cast, with no rubbing, grinding or coating to hide marks. What you see is a direct record of the plywood: soft variations in tone, the faint outline of each panel, and the reveal grid running across the wall in even shadow lines.
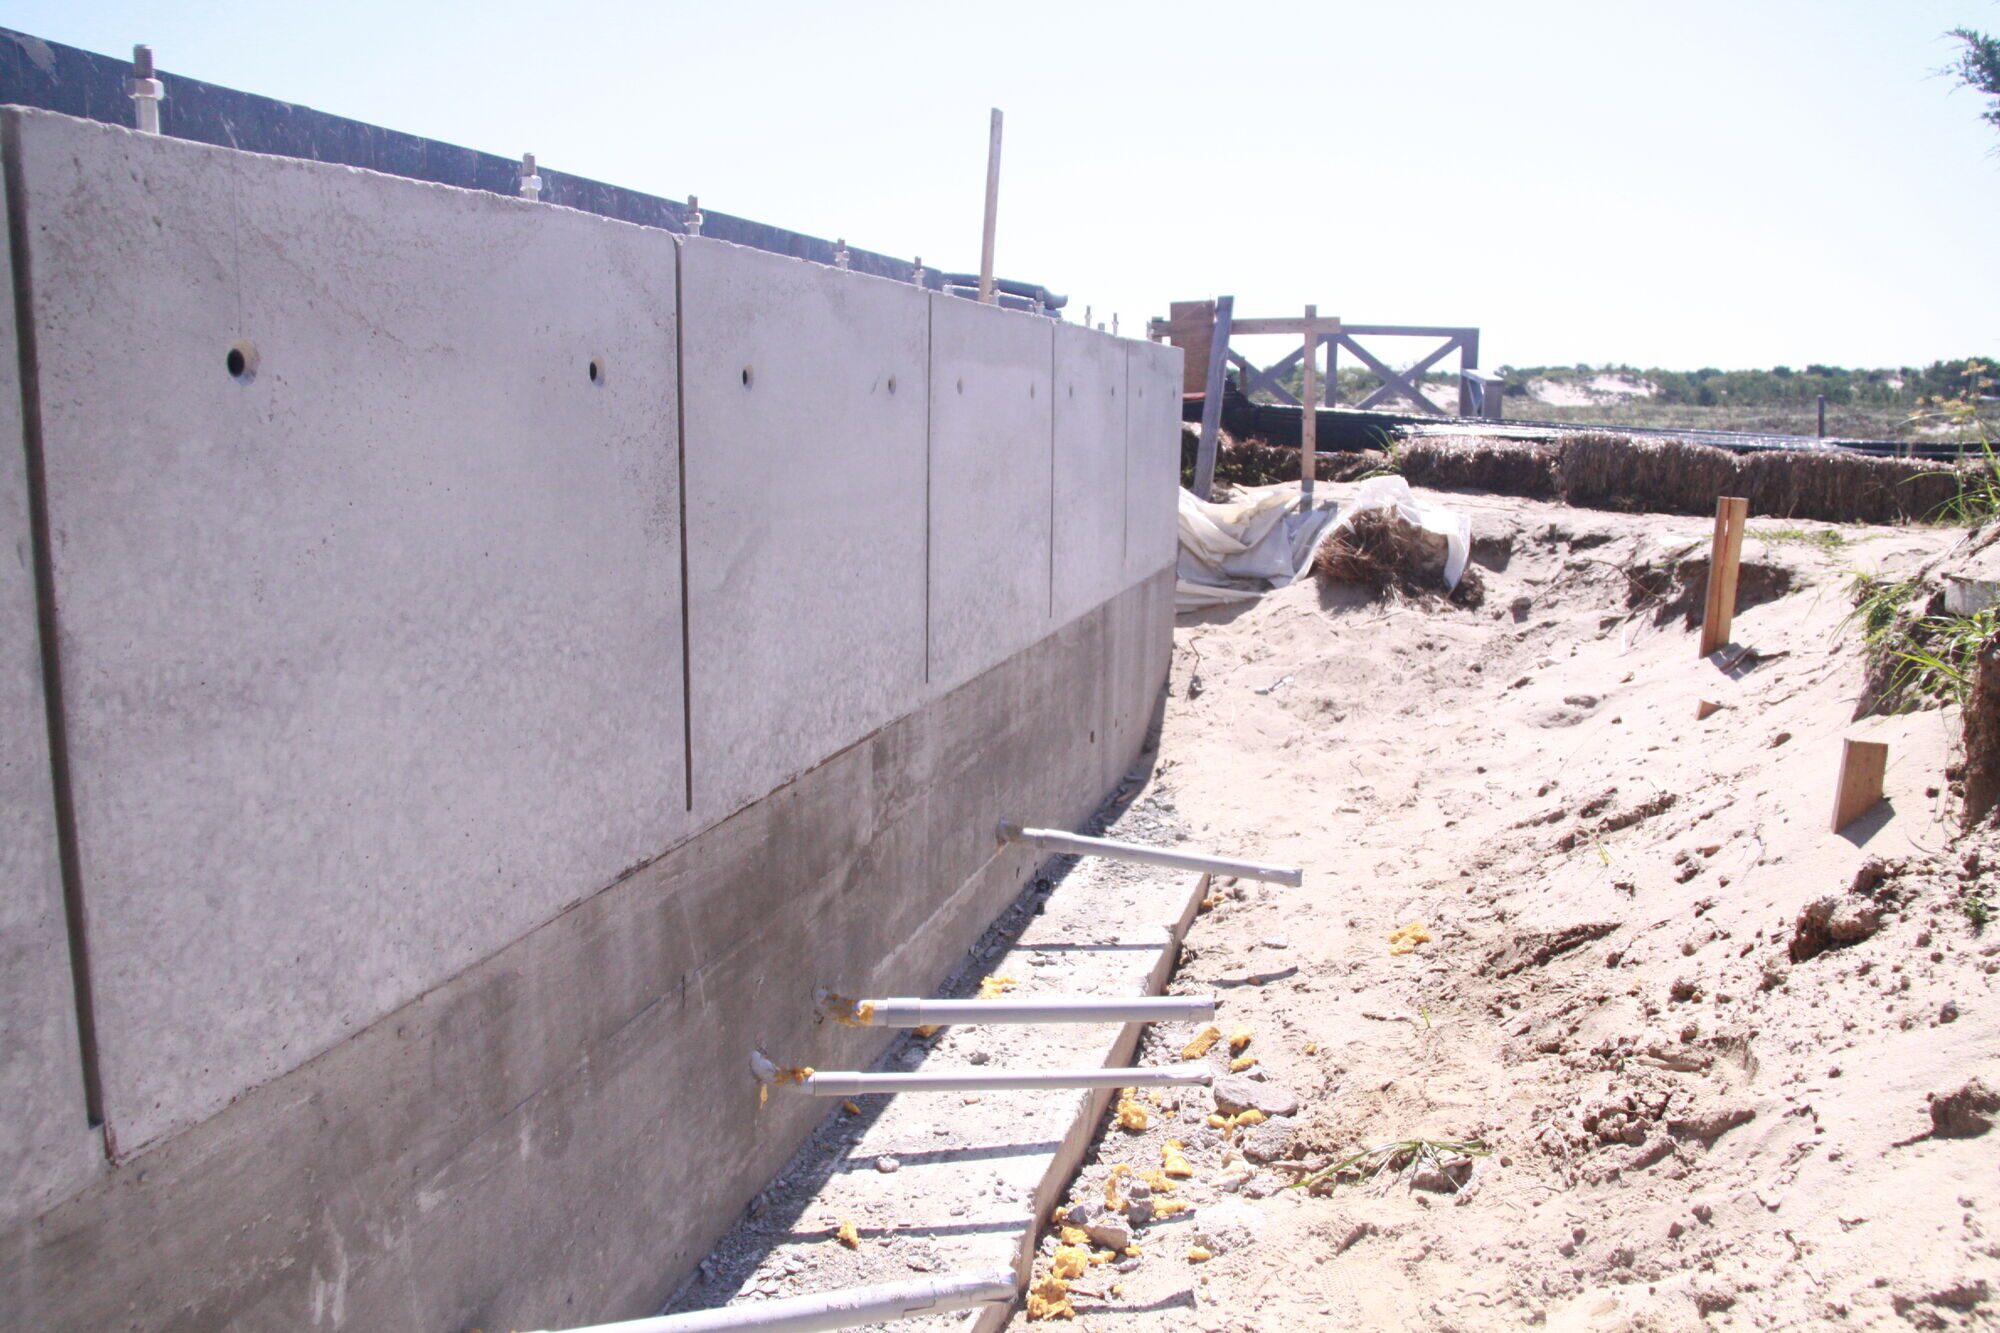
On a long retaining wall, that grid gives scale and rhythm to what could otherwise be a blank surface. On a freestanding wall, it reads almost like a stone wall made of large, quiet blocks.
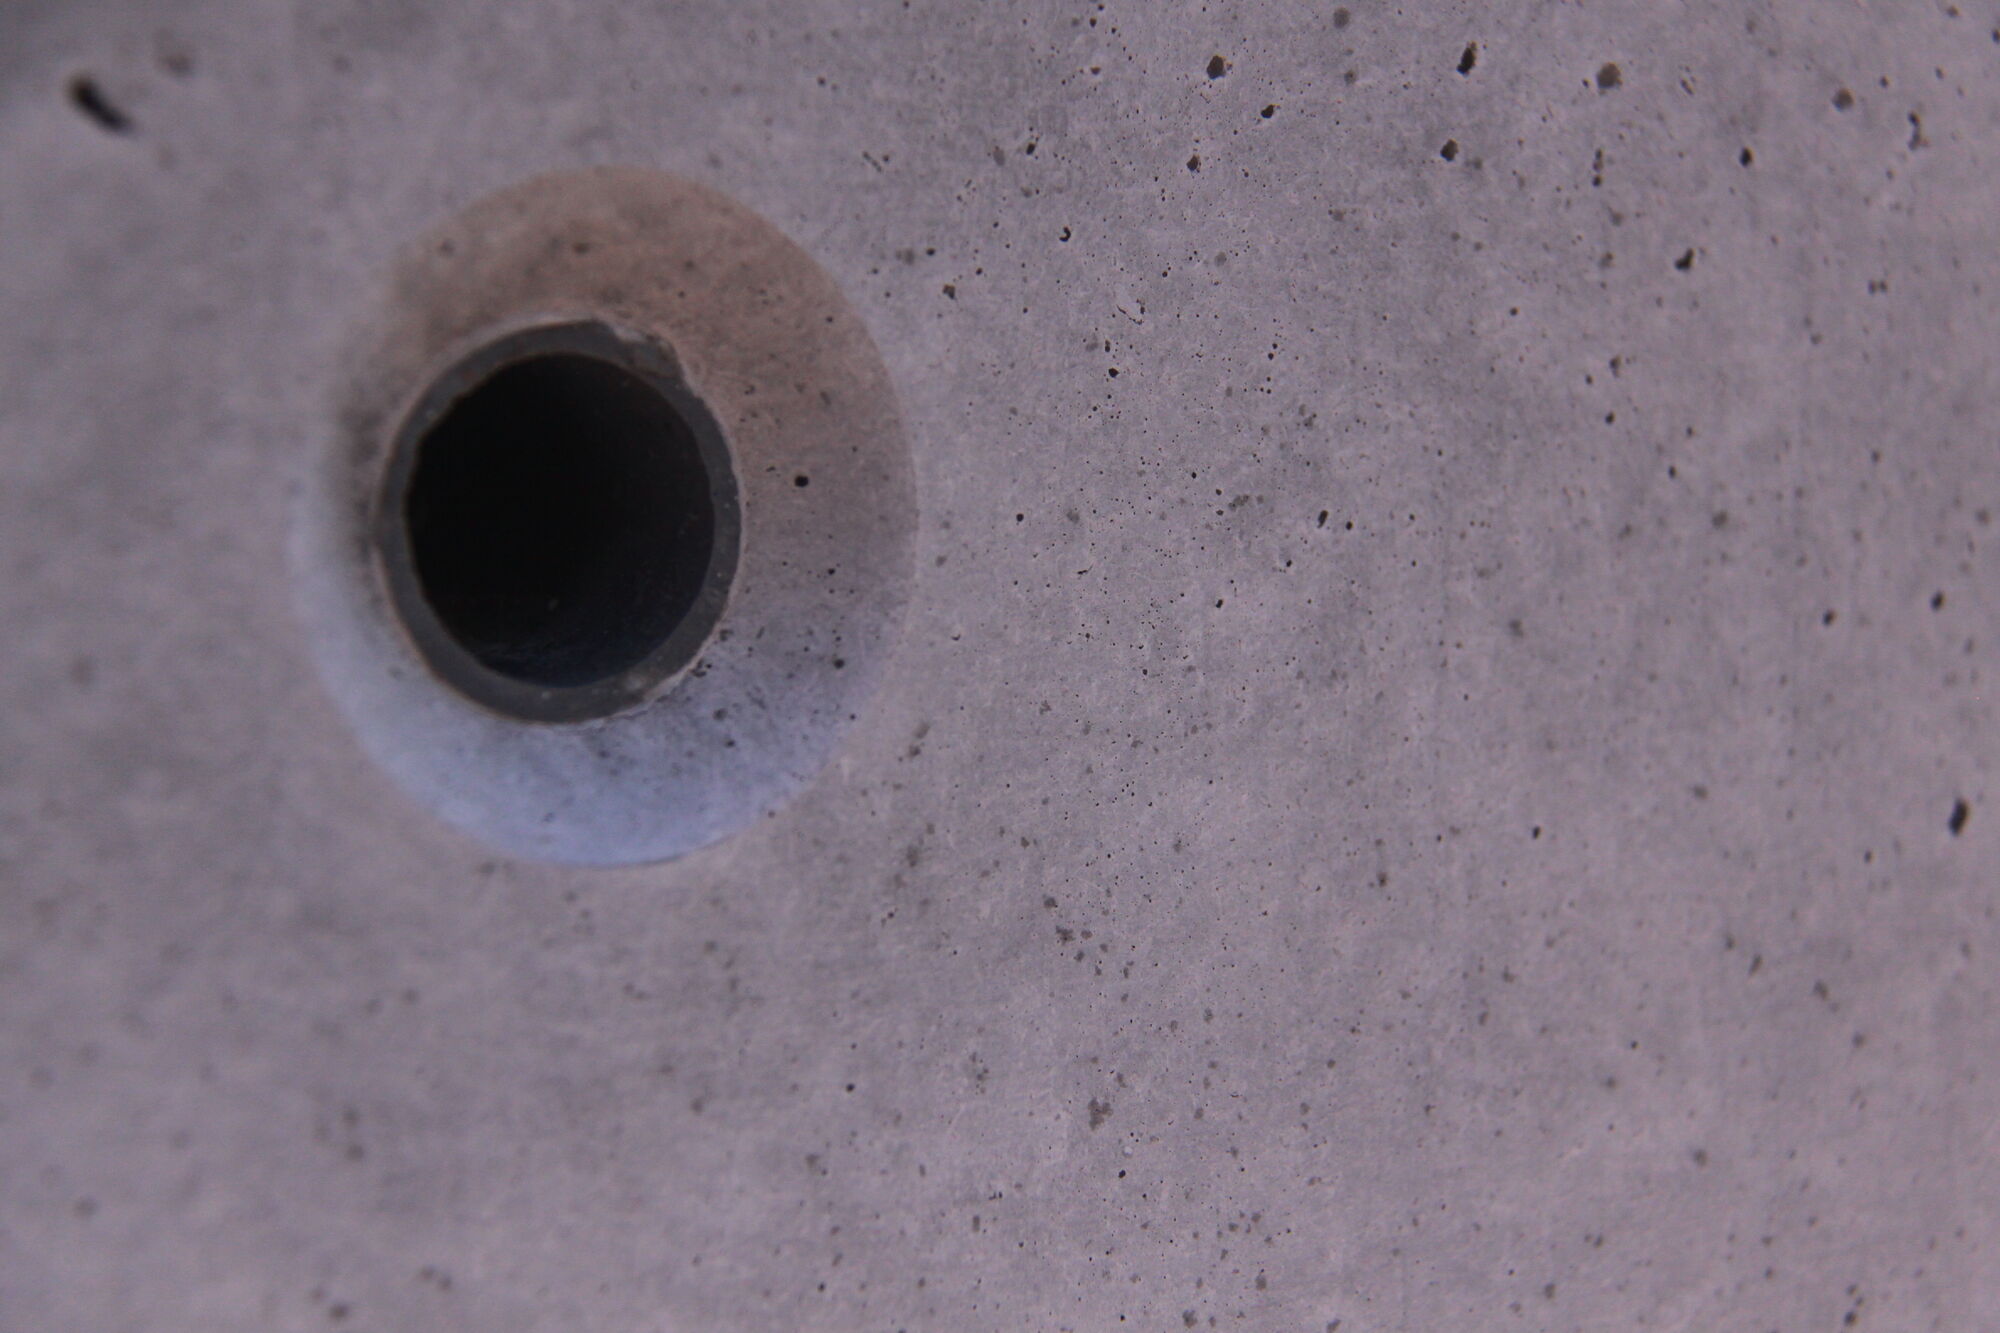
Tie holes, open or closed
Form ties are the steel rods that hold the two faces of a form together against the weight of wet concrete. When the forms come off, every tie leaves a hole. Most projects patch them flush and hope they disappear. KOPOS decided case by case.
On the landscape walls, the tie holes are left open. Laid out on the same grid as the reveals, they add a regular texture and an honest record of how the wall was made.
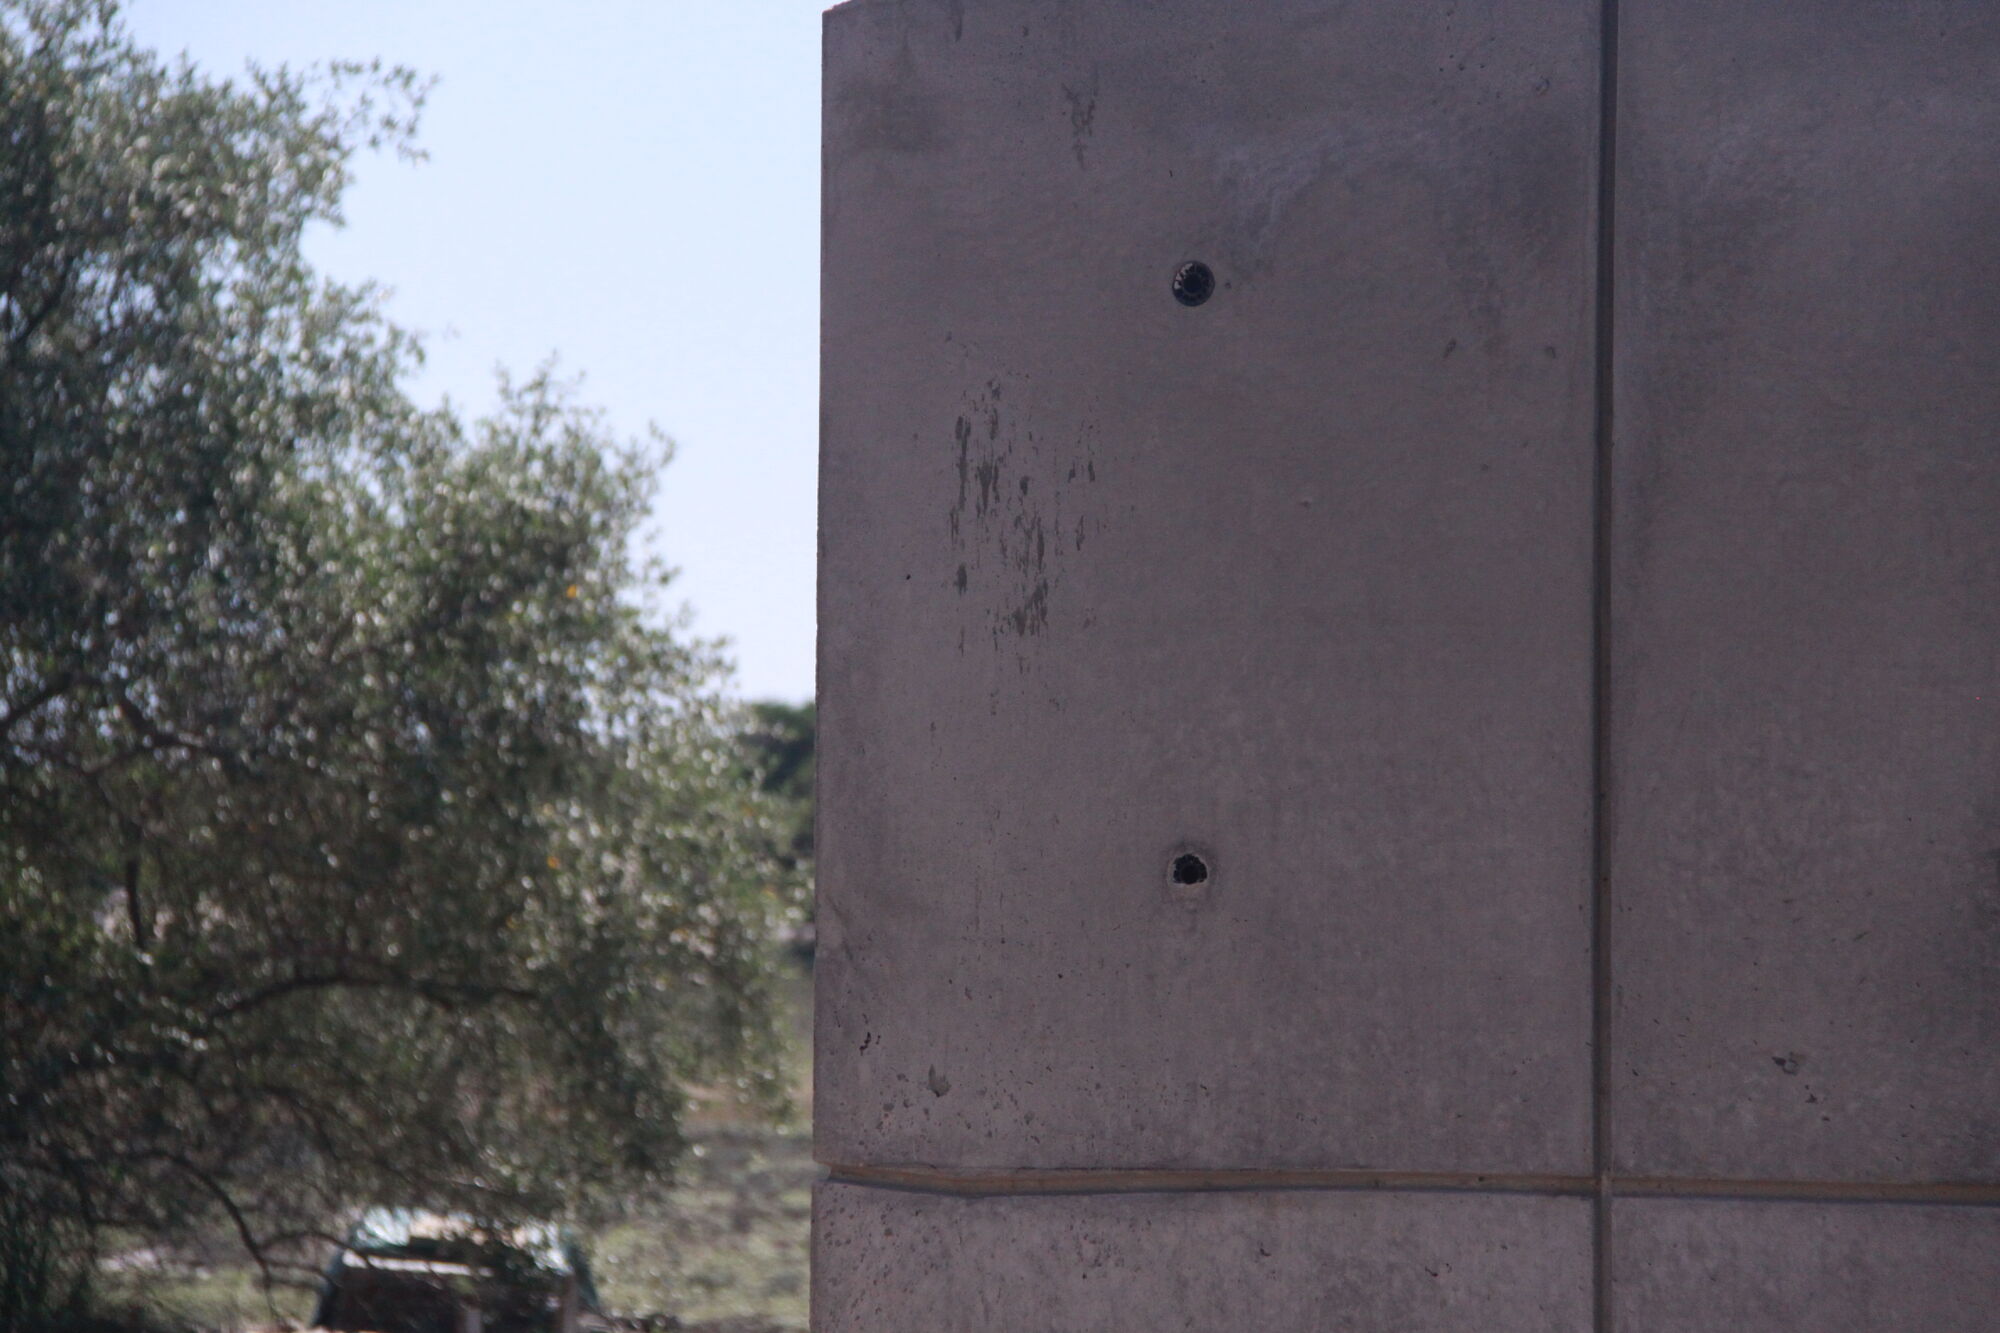
Where a wall is part of the house or garage exterior, the holes are plugged to keep water out. Even there, the plugs are set back from the face, so each one reads as a small reveal, in keeping with the joints around it.
Finally, the walls were sealed with a clear penetrating sealer. It soaks into the concrete instead of forming a film on top, so it repels water and resists staining without adding sheen. The concrete still looks and weathers like concrete.
Where materials meet
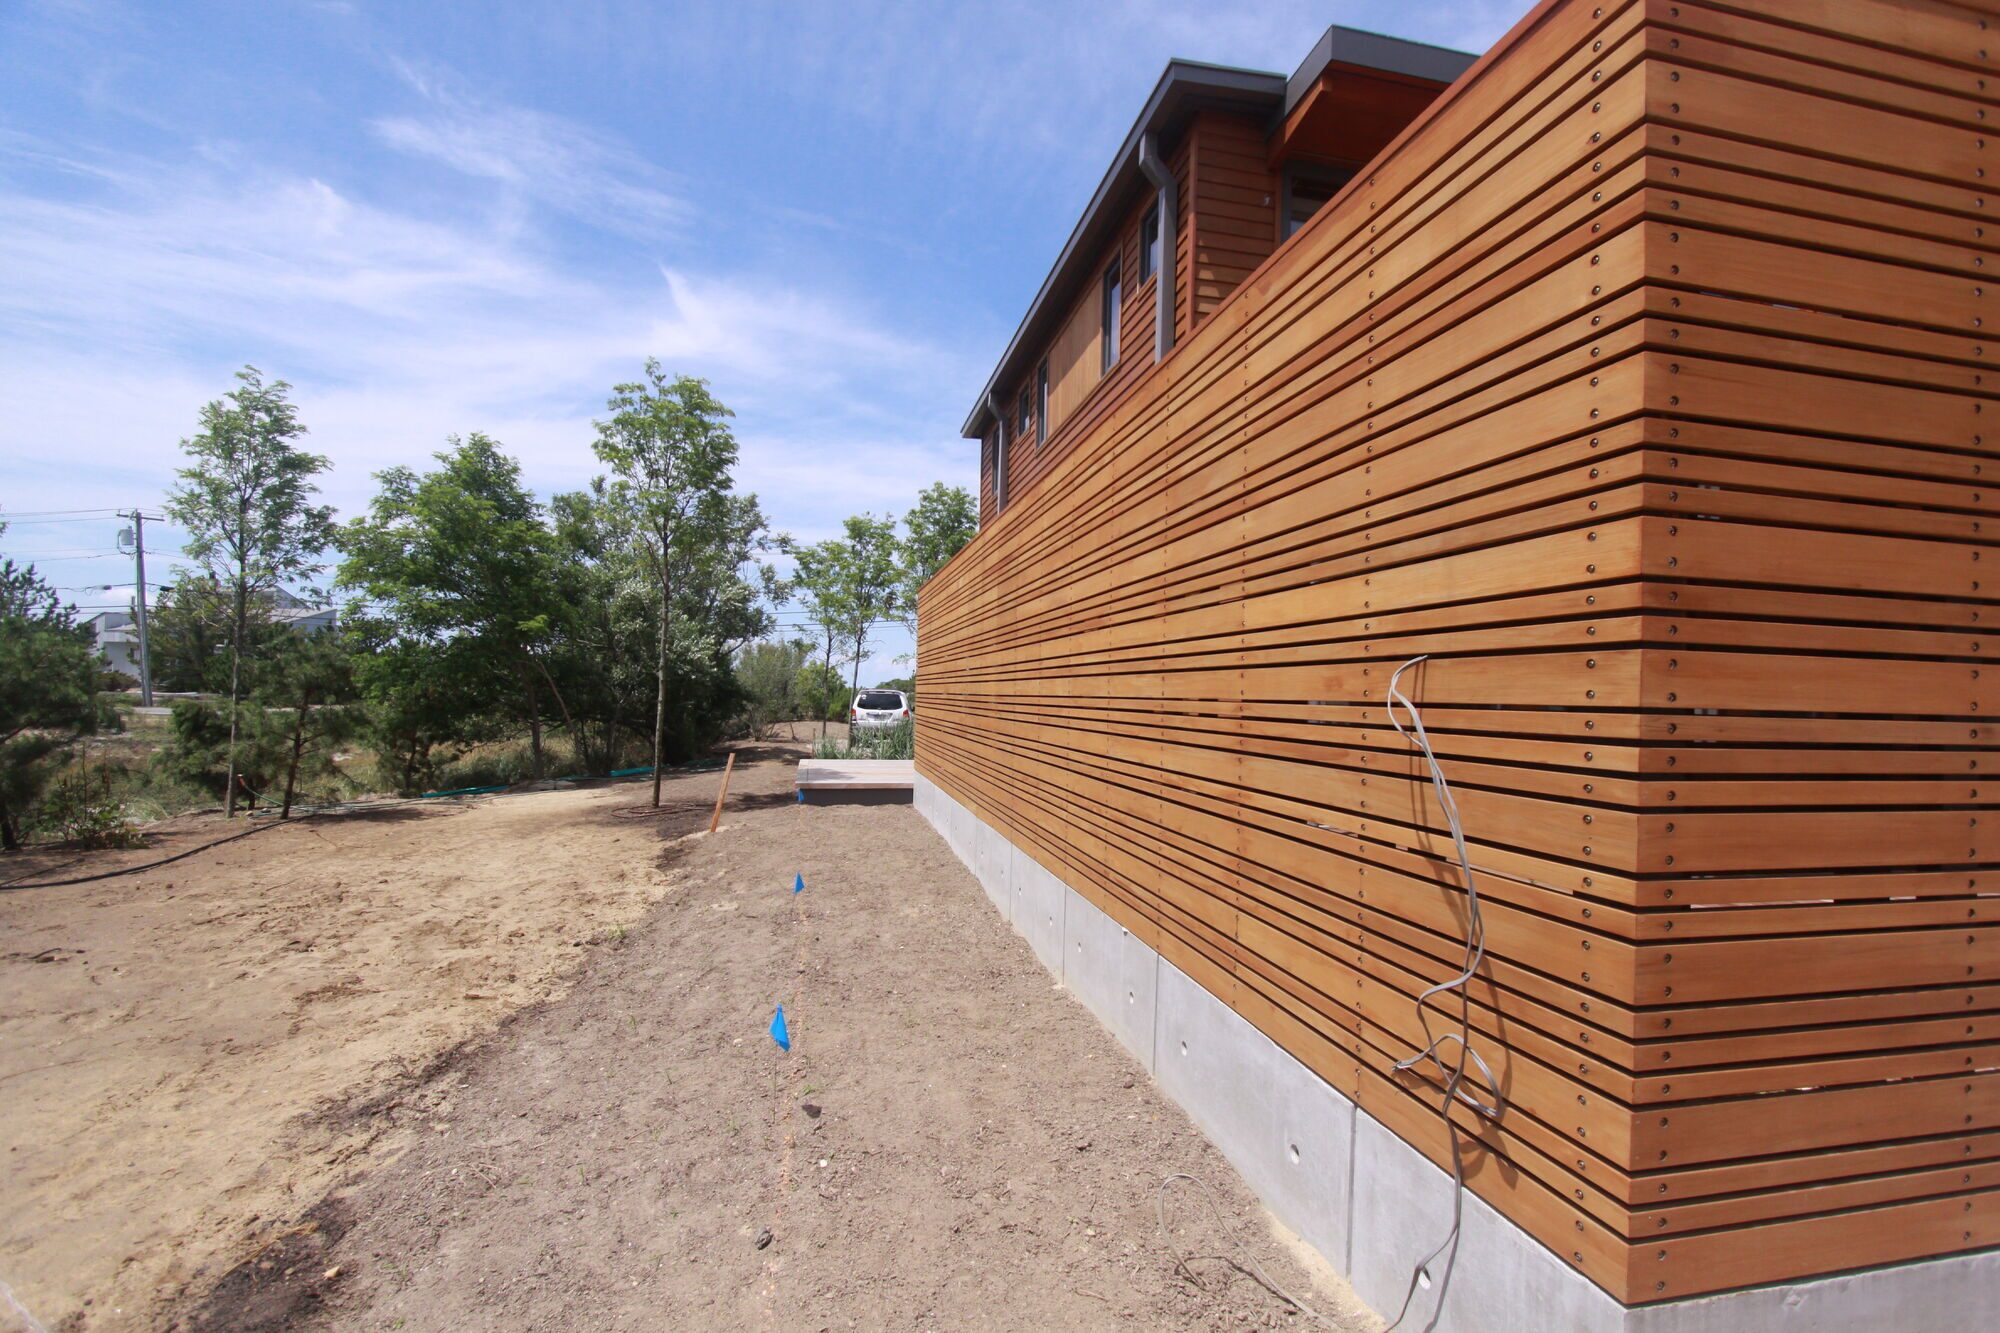
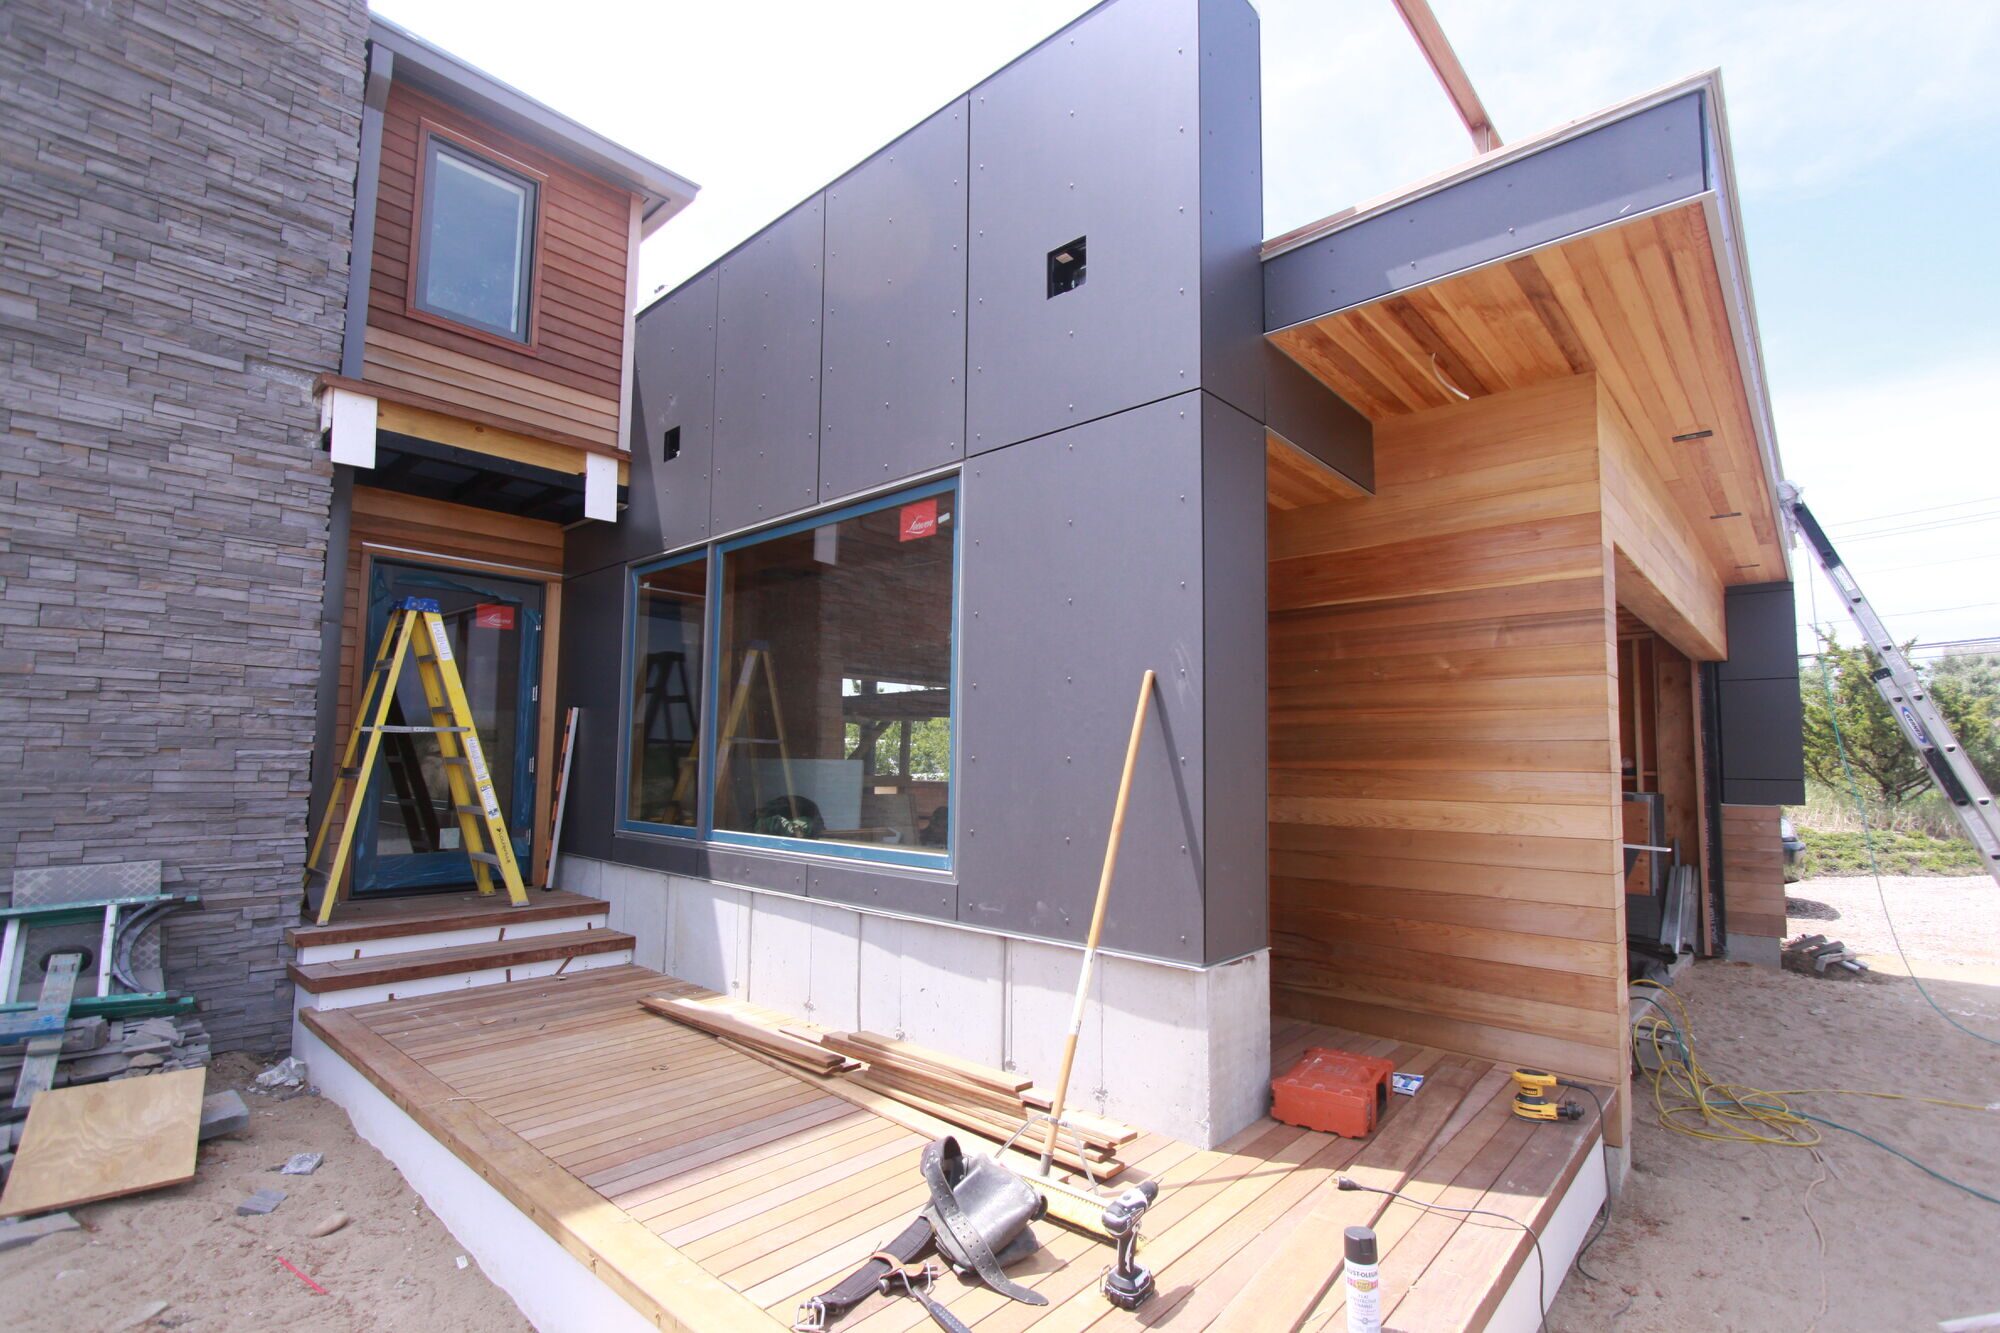
The concrete is one of three exterior materials at the addition, along with warm cedar siding and a dark fiber-cement rain screen. Each one ends cleanly where it meets the next. Cedar sits above the concrete base on a clear line, fiber-cement panels turn the corners with sharp edges, and joints and reveals line up with siding courses and openings wherever they can.
None of this is complicated on its own. It works because each meeting point was drawn ahead of time, and the team built it as drawn.
Lessons for anyone planning exposed concrete
- Design the forms, not just the wall. Panel layout, ties and reveals decide how the finished surface looks. Draw them on the elevations.
- Insist on a mockup. A full-size sample is the only reliable way to agree on the finish before it’s permanent.
- Use fresh form faces on visible walls. Reused plywood prints its wear onto the concrete.
- Decide about tie holes on purpose. Open, plugged or recessed, each choice changes how the wall reads. Make it part of the design.
- Seal without coating. A penetrating sealer protects the concrete without changing how it looks.
The same walls frame the pool and spa. Next in this series: how the team built the knife-edge pool.
See the finished house on Ryan Serhant’s tour: YouTube · Instagram · Instagram
If you’re planning a home with exposed concrete, or any detail that has to be right the first time, tell KOPOS about your project, and we’ll be in touch. Send a note or call 1.516.966.5900.